Welcome to the Reefpay Web Portal user guide. This user guide provides an overview of the features and capabilities of Reefpay Web Portal and walks you through the various screens to help you get familiar with all the Web Portal's functionality.
Before you can access the Web Portal, you'll need your user account set up. Contact your system administrator for more information on user accounts.
Use your username and password to login to the Web Portal at Reefpay Web Portal.
If this link does not work, go to [portal signin] on your internet browser. The Web Portal supports both Google Chrome and Microsoft Edge. Contact your administrator if you use a different browser.
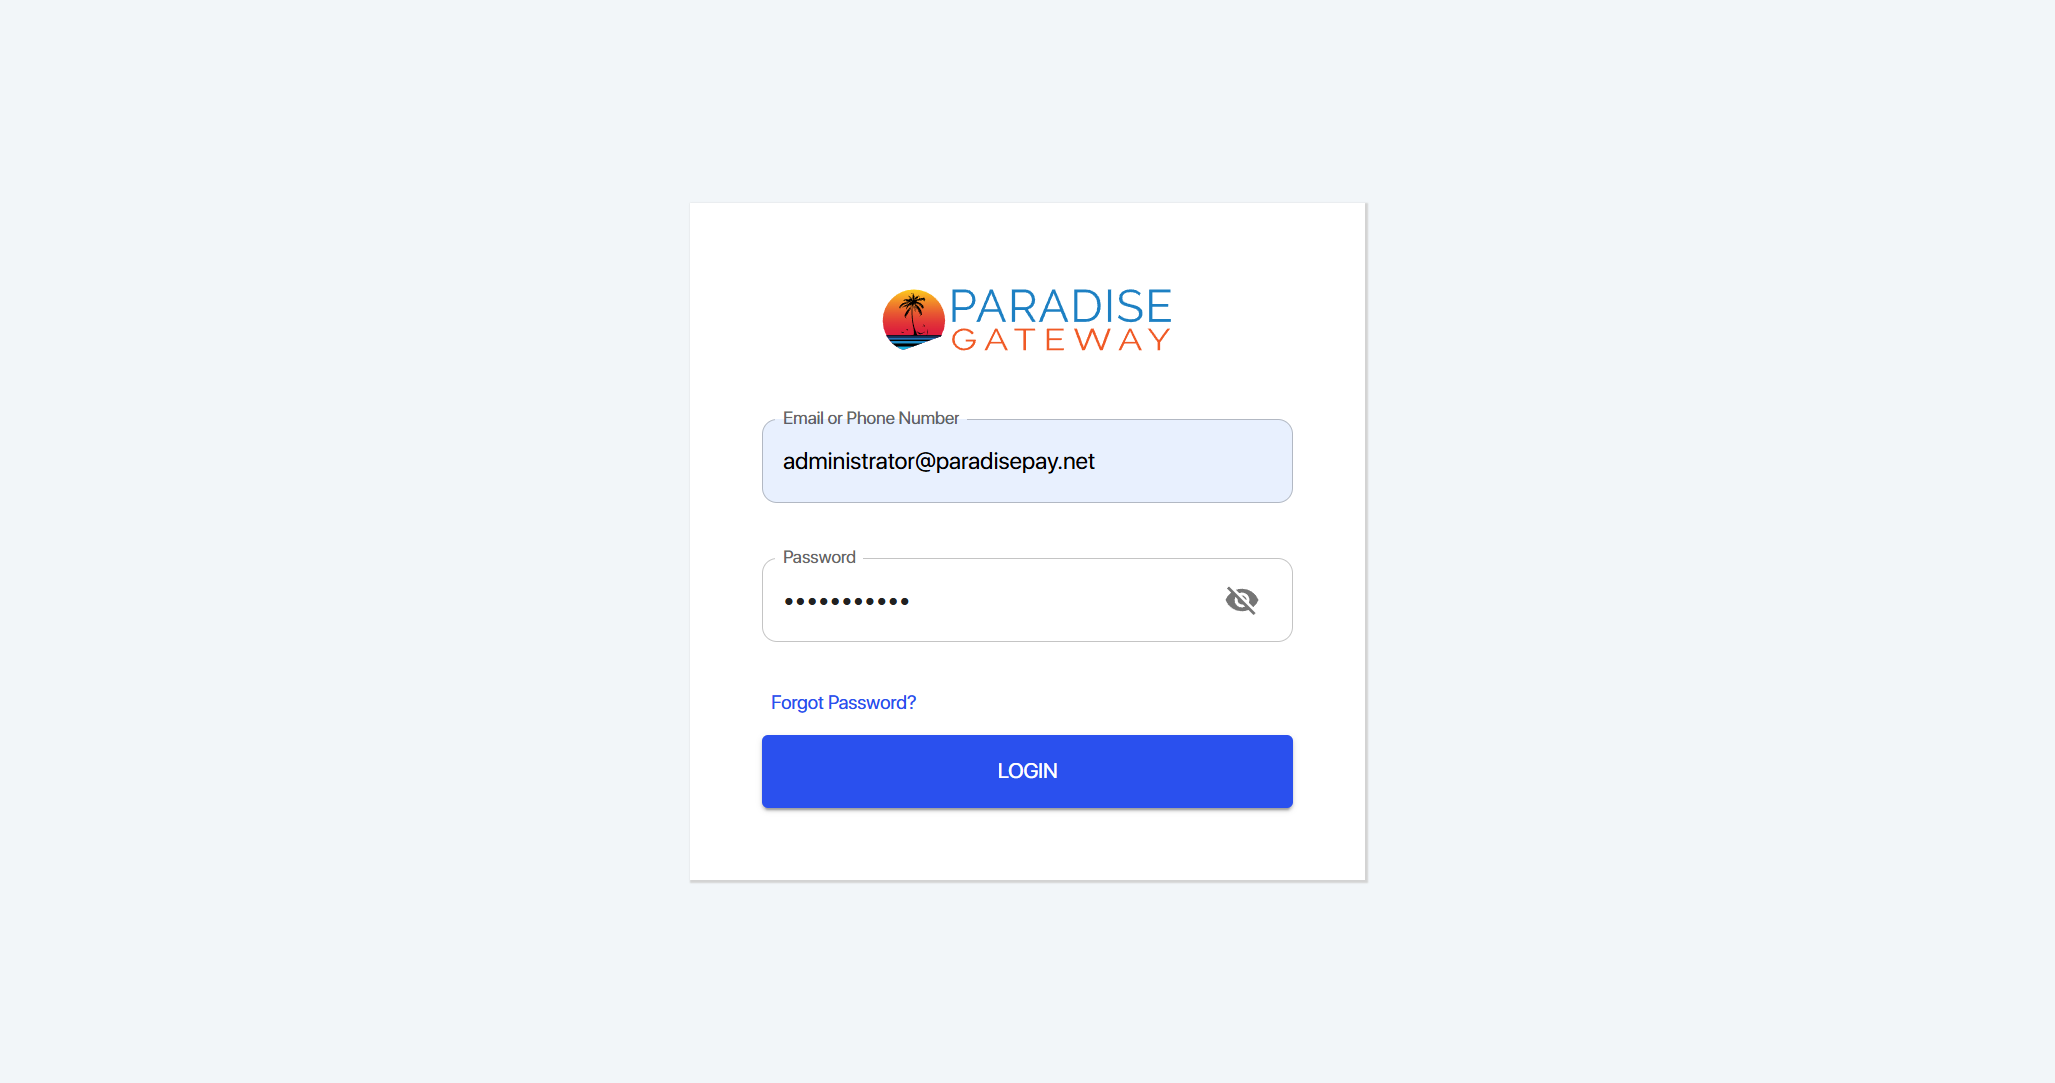
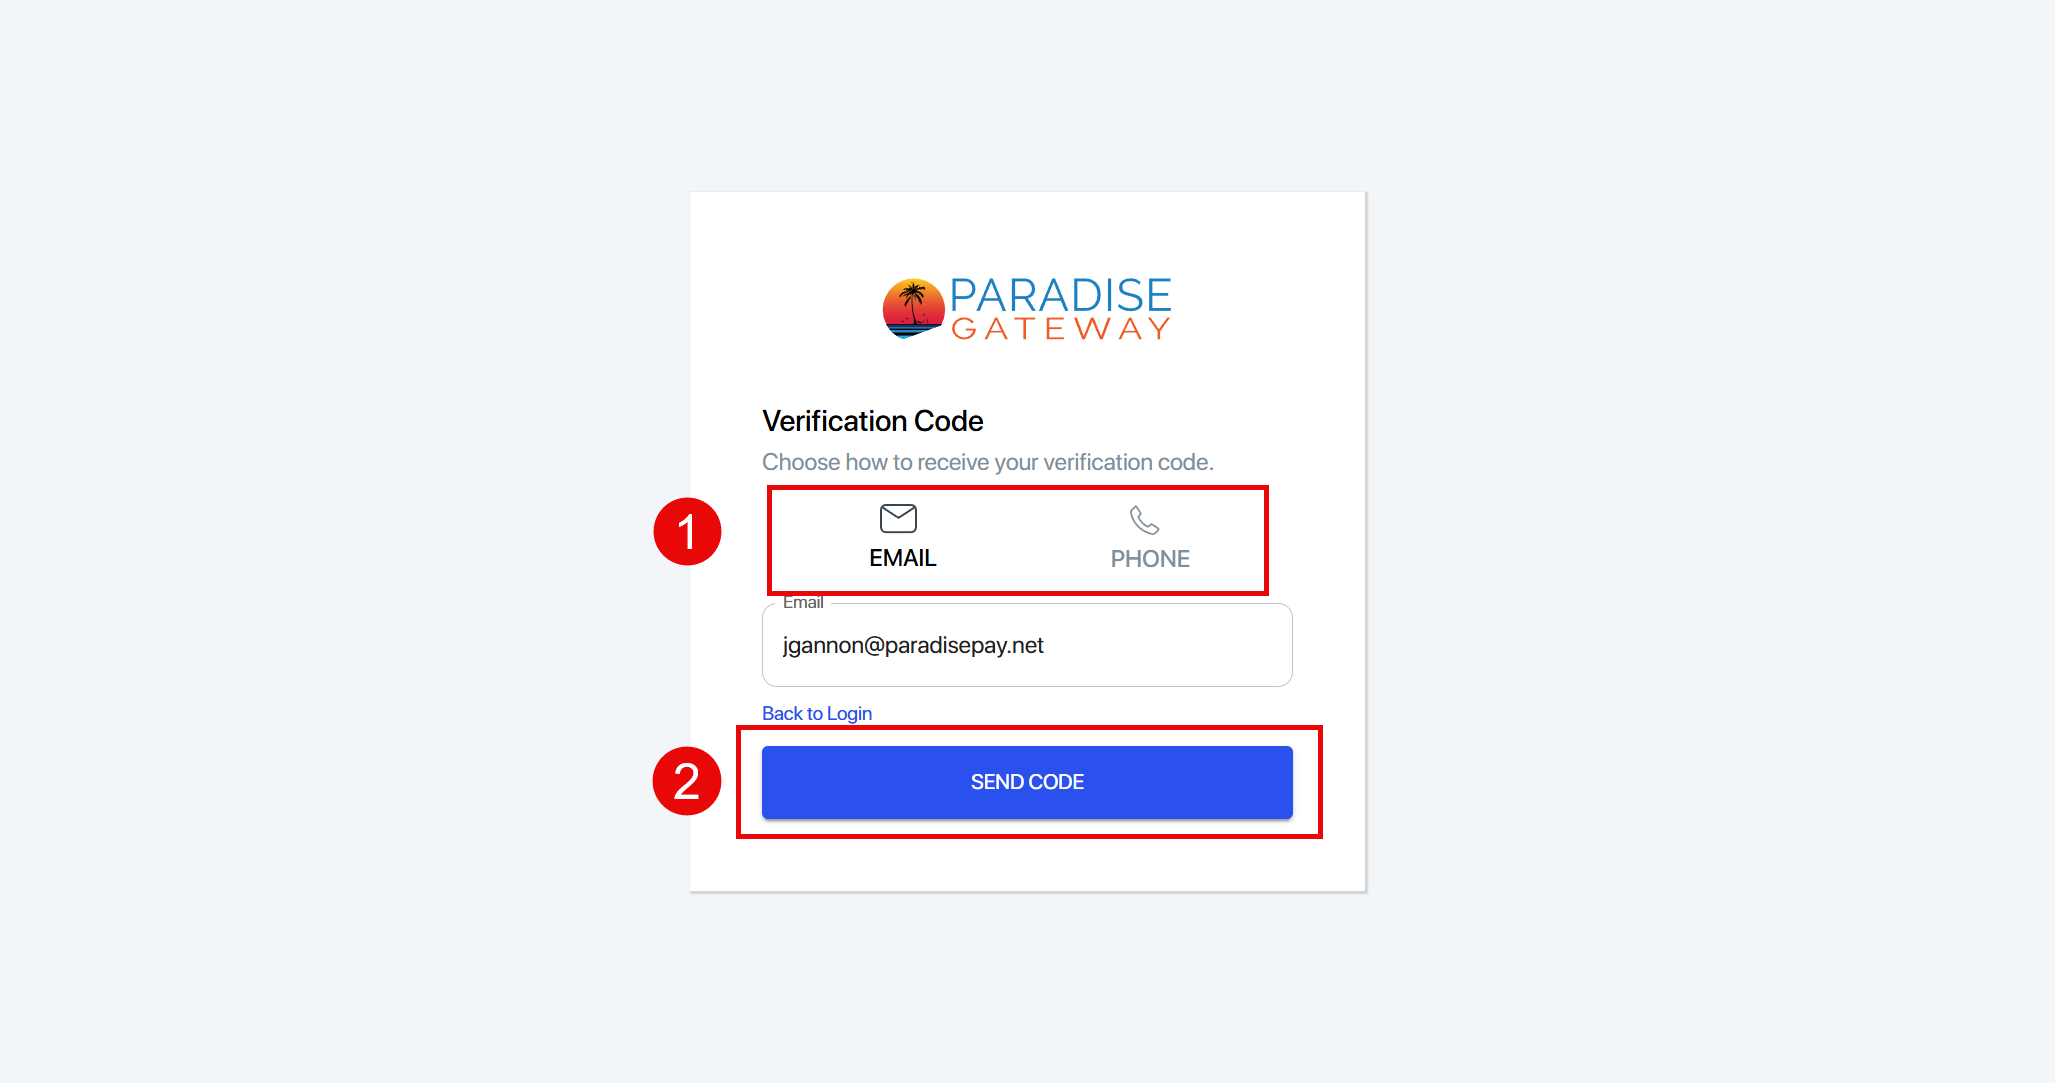
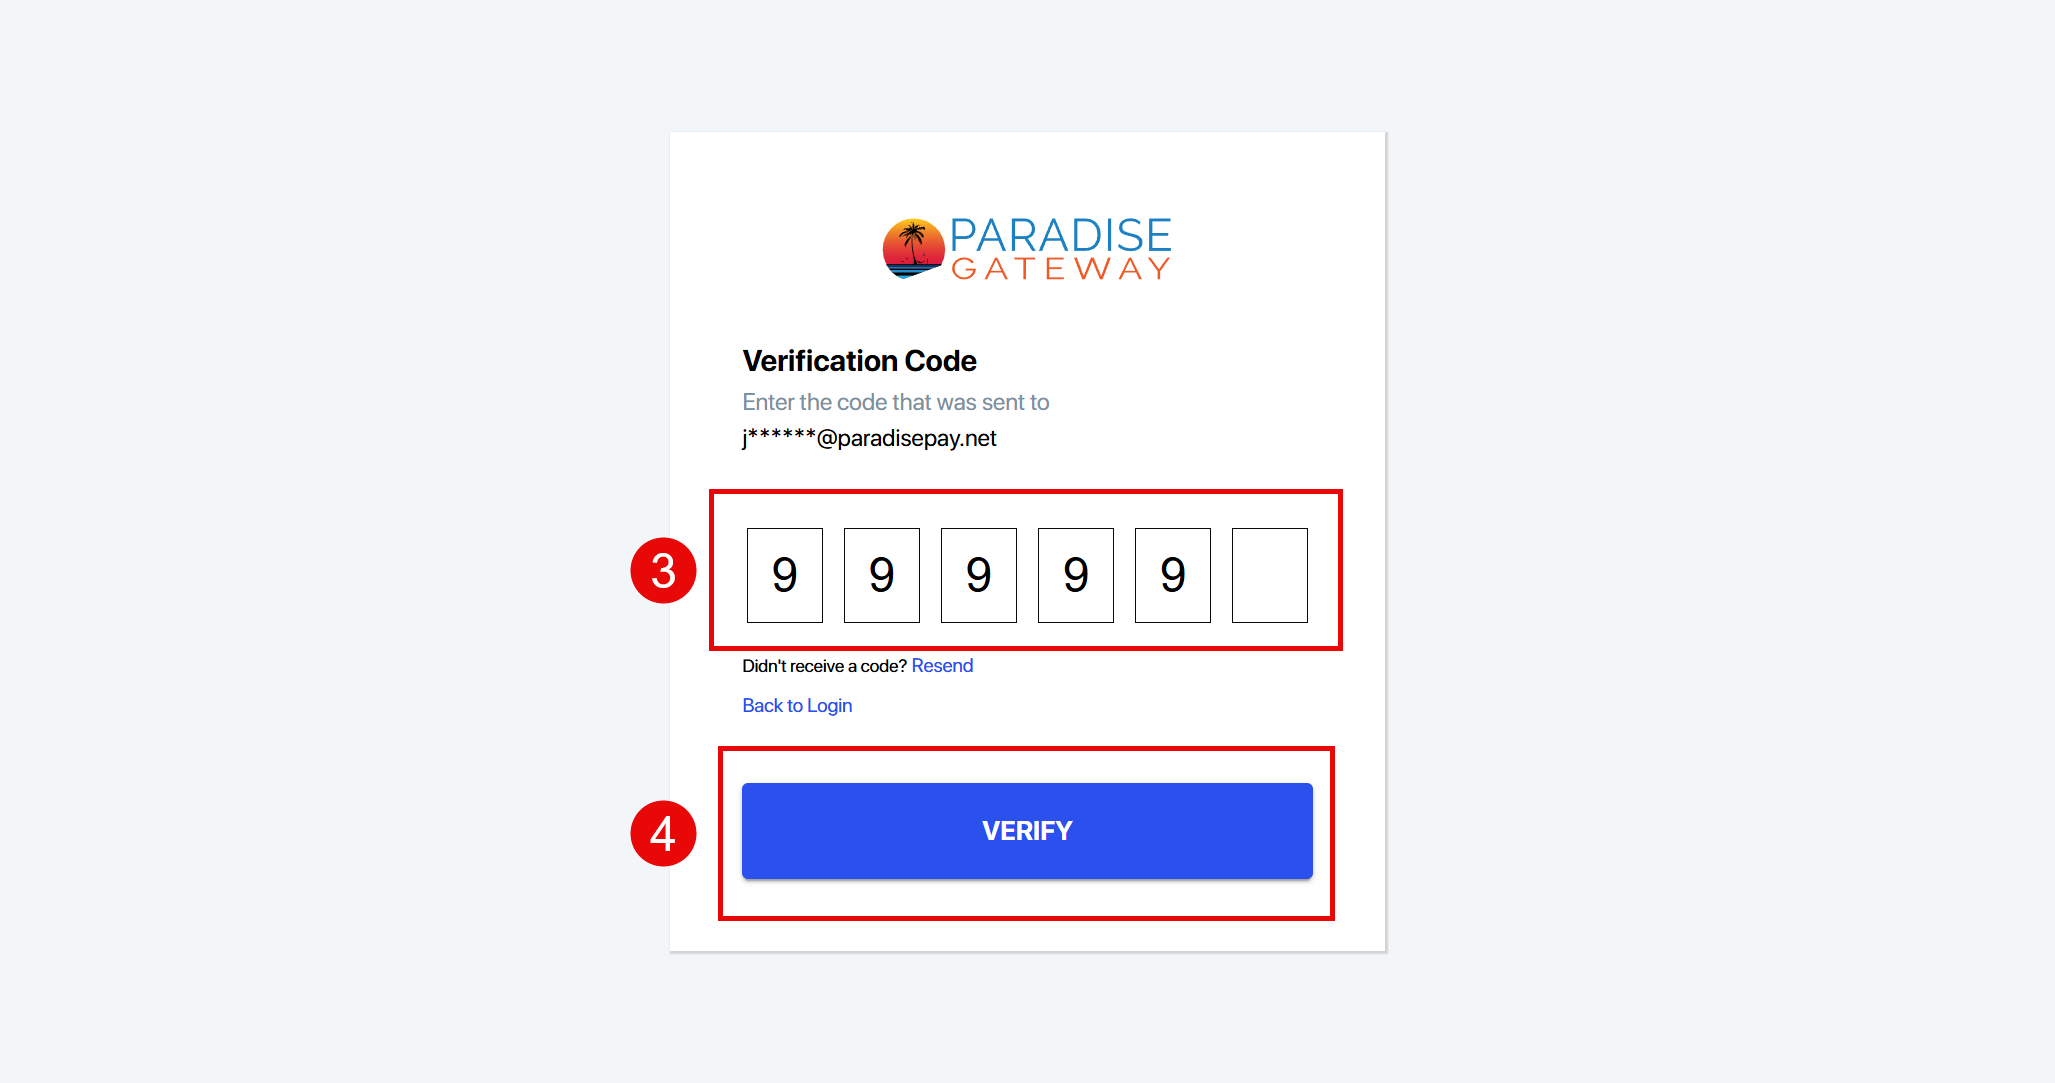
If you have multi factor authentication (MFA) selected, you are directed on how to request and enter a verification code before you log in.
For MFA:
- Choose to have the verification code sent to your phone or email.
- Select Send Code.
- Enter the verification code.
- Select Verify.
After you sign in, the main UI screen appears. Continue to the next section for an overview of the top navigation bar.
Use the navigation bar at the top of the UI screen to move between different screens within the UI.
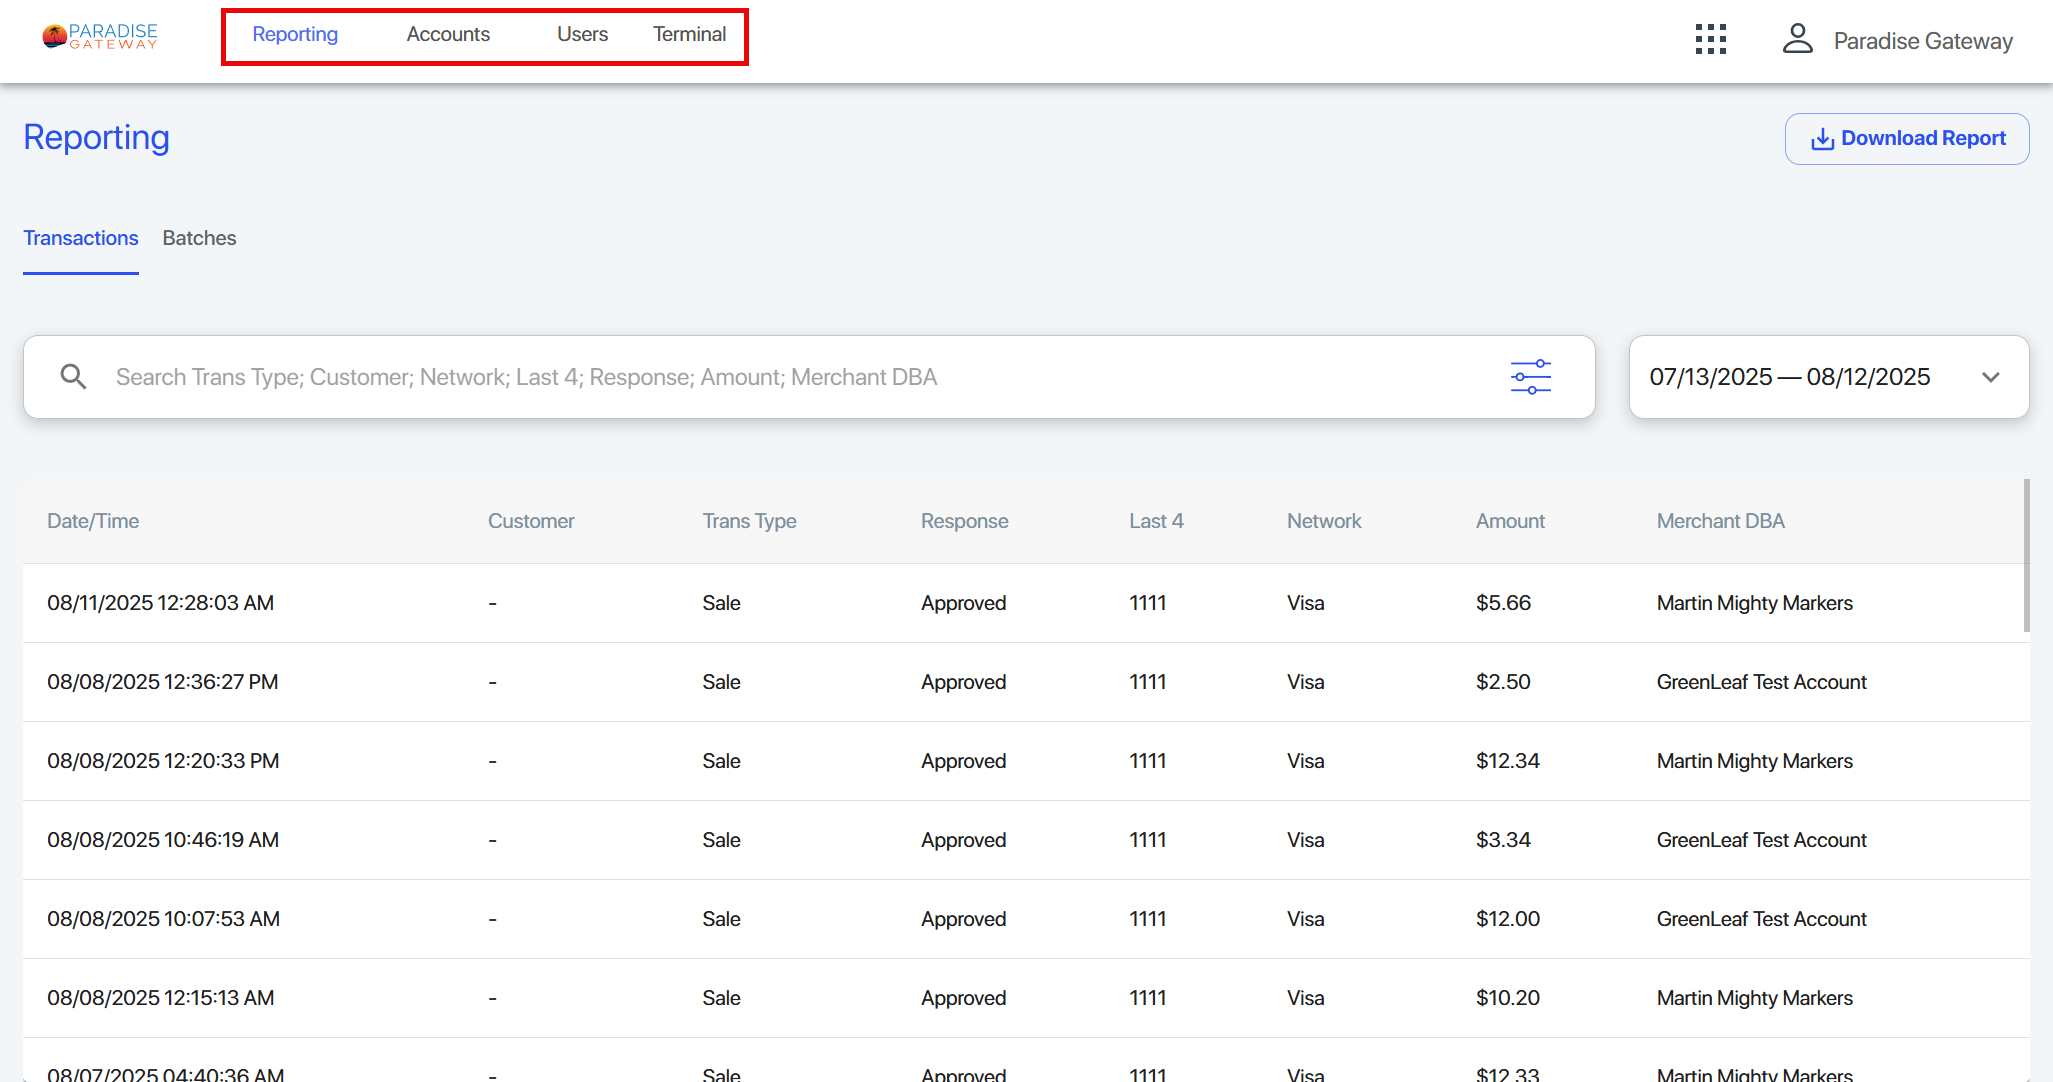
The screens available from the top navigation bar include:
- Reports: See reports on transactions and batches and close batch reports
- Accounts: Create and view merchant accounts and applications
- Users: Add new users and define user roles
- Terminal: Perform credit card transactions
The Reports screen includes tabs for both Transactions and Batches.
The Reports screen will default to the Transactions tab. From this screen, you can view a transactions details or Void a transaction that has not settled as part of its batch of transactions.
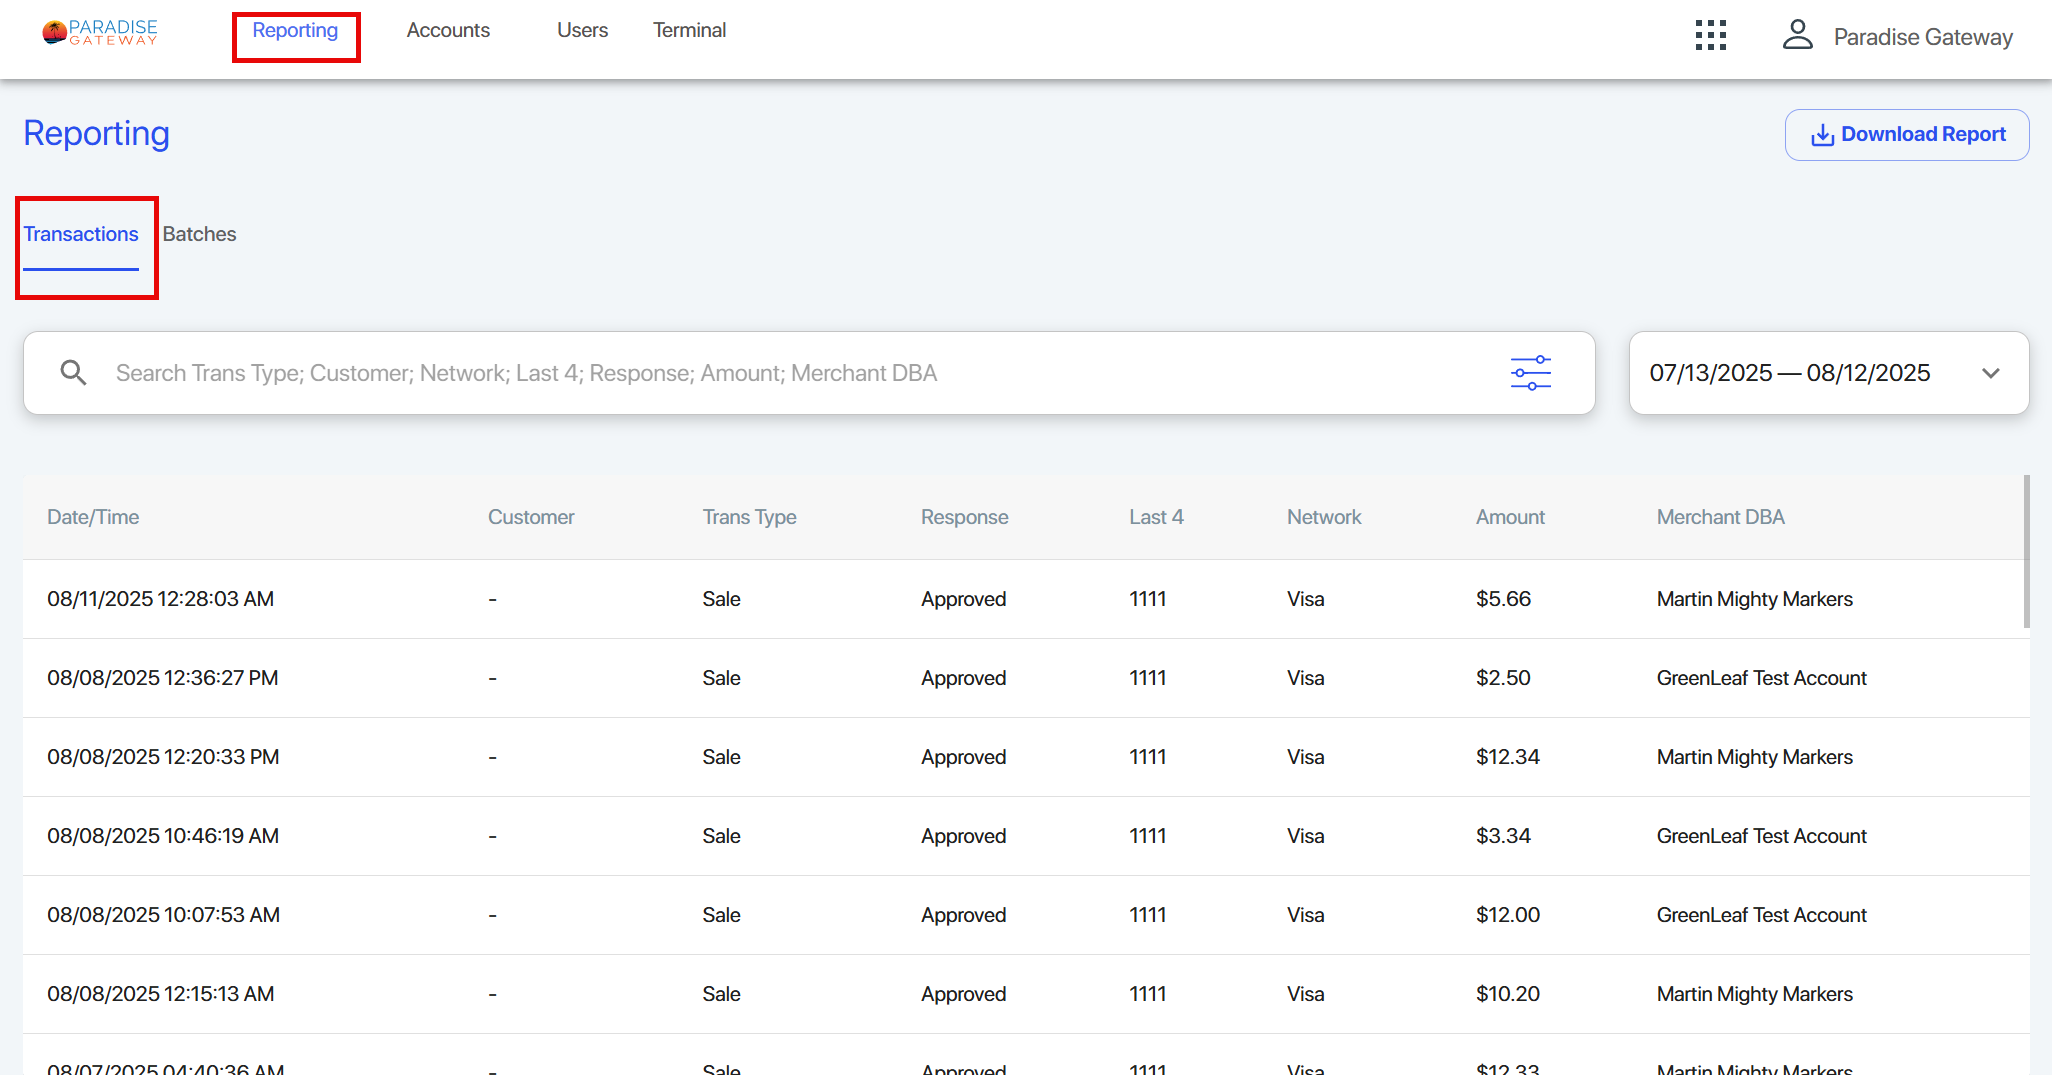
Use the search bar to search for a specific transaction.
Use the Date Period dropdown menu to the right of the search bar to select a date range for your search.
Select the filter icon on the right side of the search bar to filter your search by specific Transaction Types, Networks, and Response types.
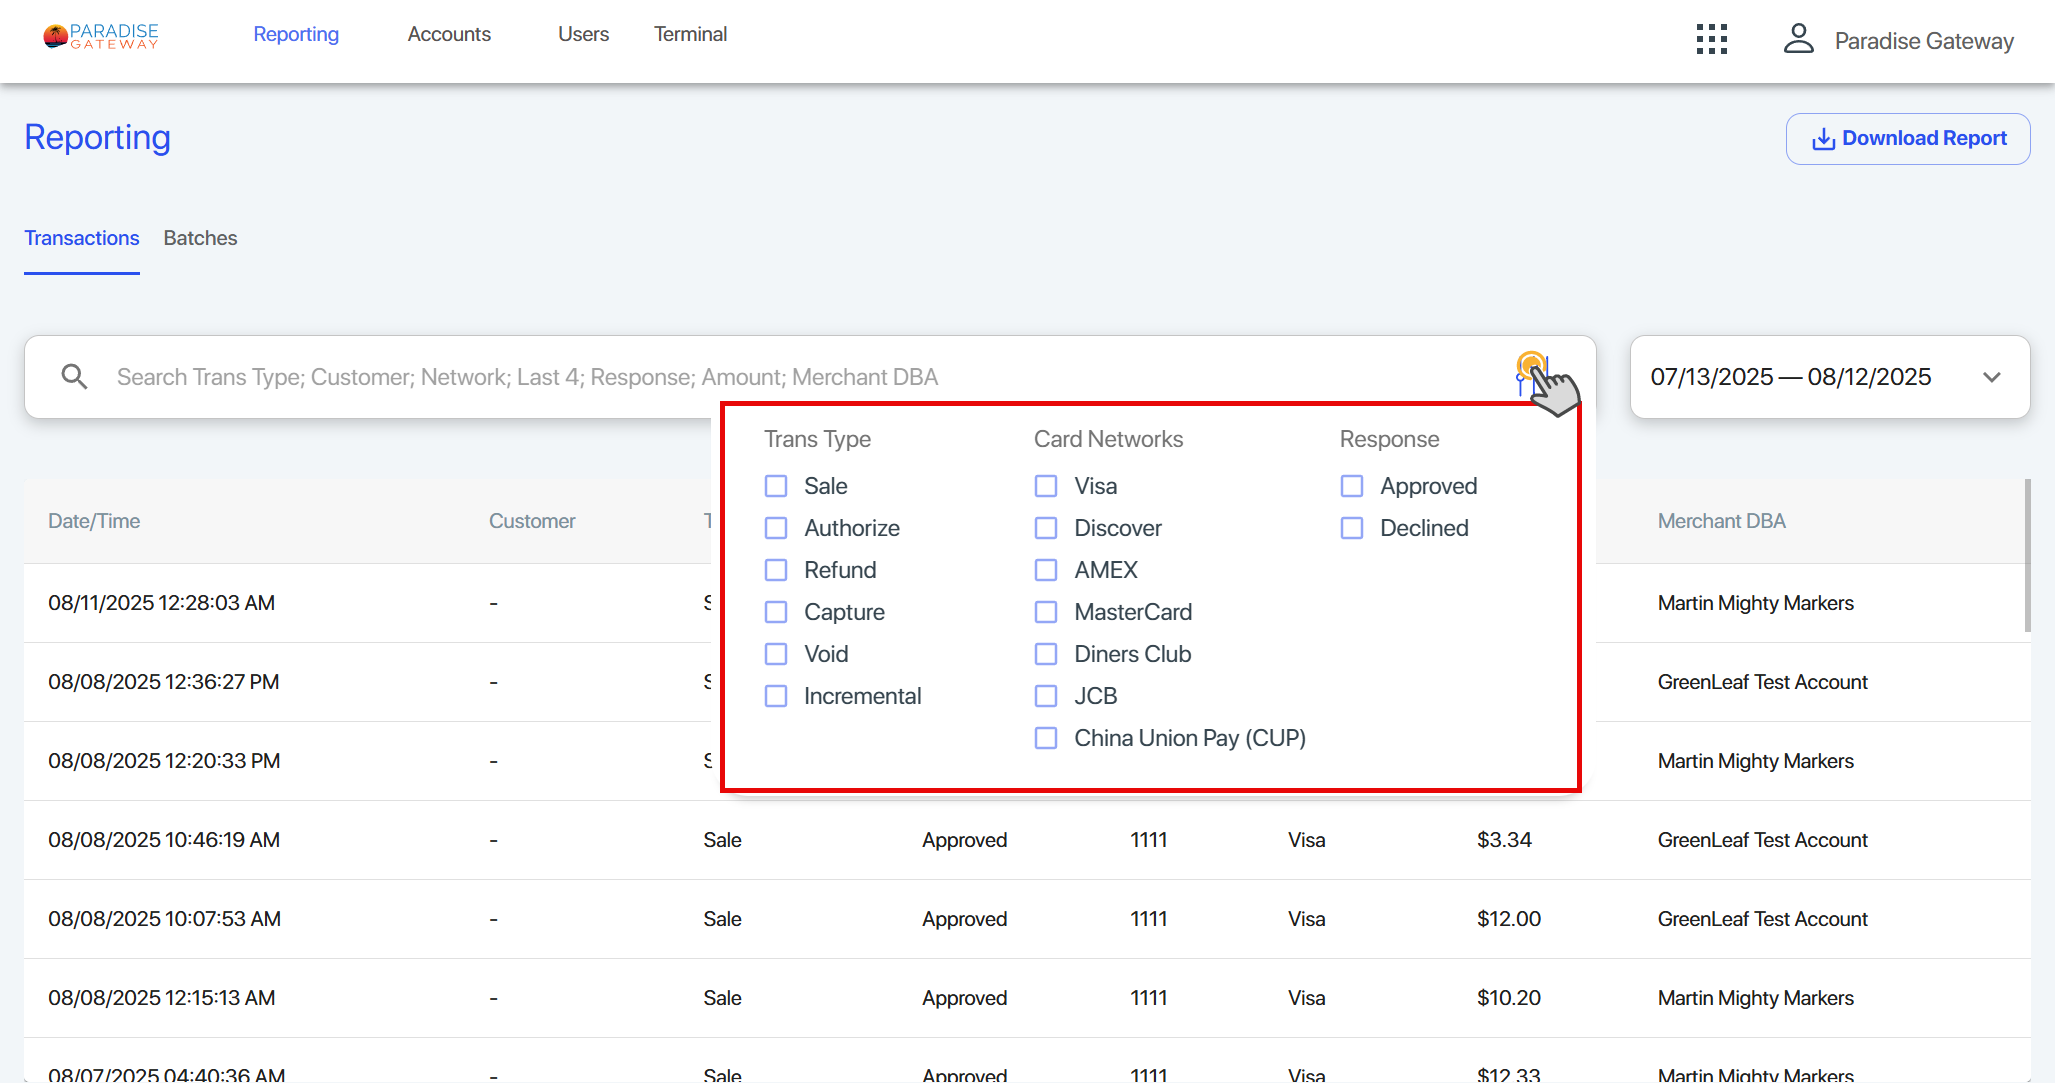
To see more information about a specific transaction, select its row on the table.
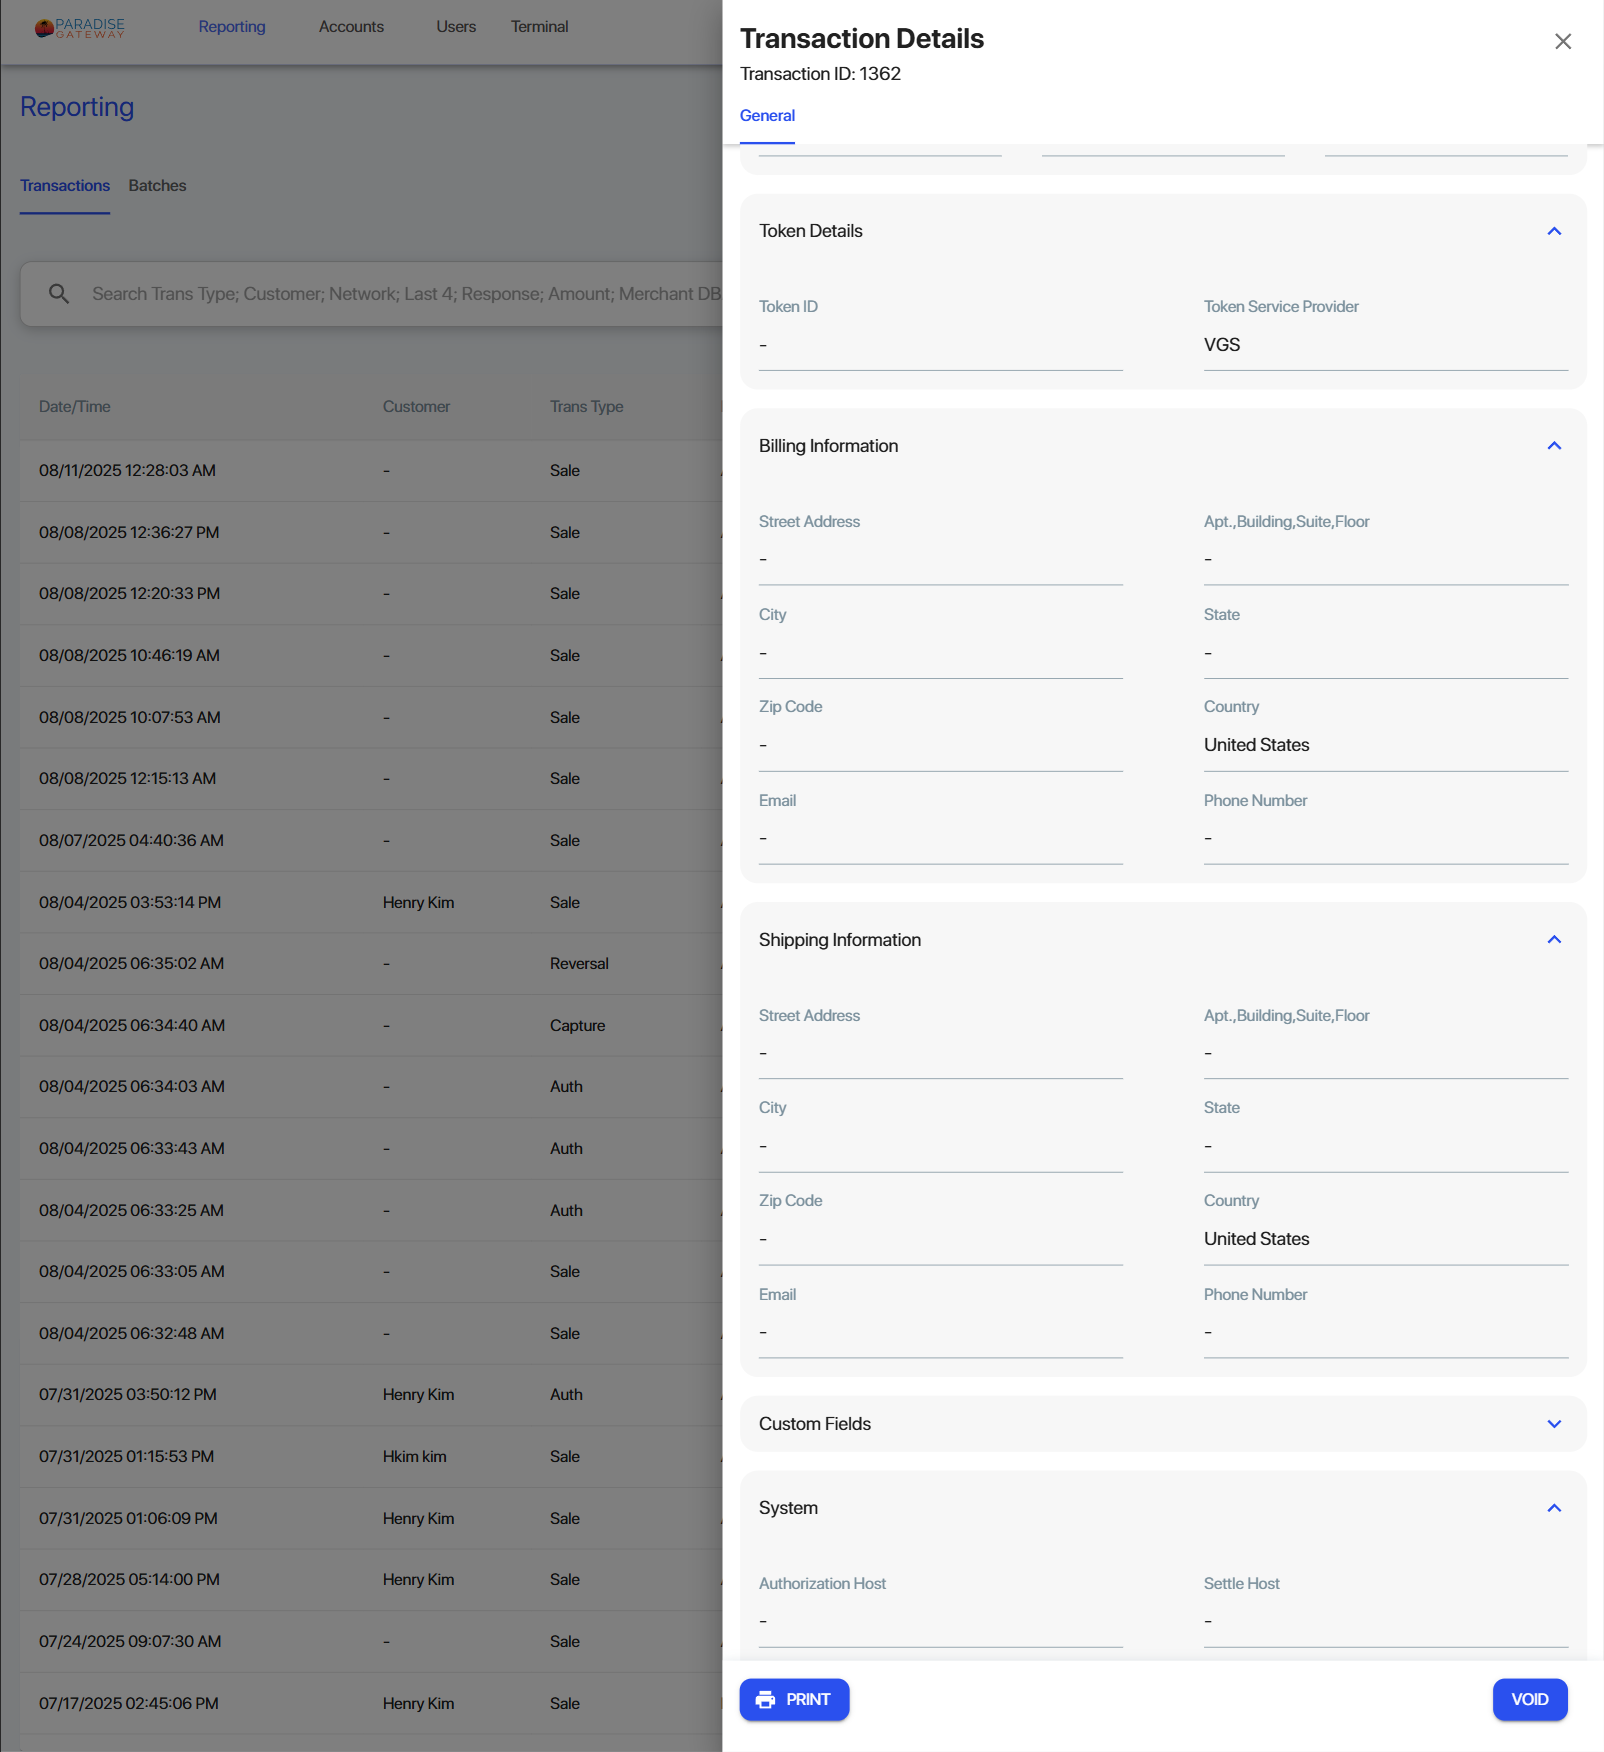
The Transaction Details screen appears and shows four sections of transaction information:
- Transaction Details
- Token Details
- Billing Information
- Shipping Information
- System
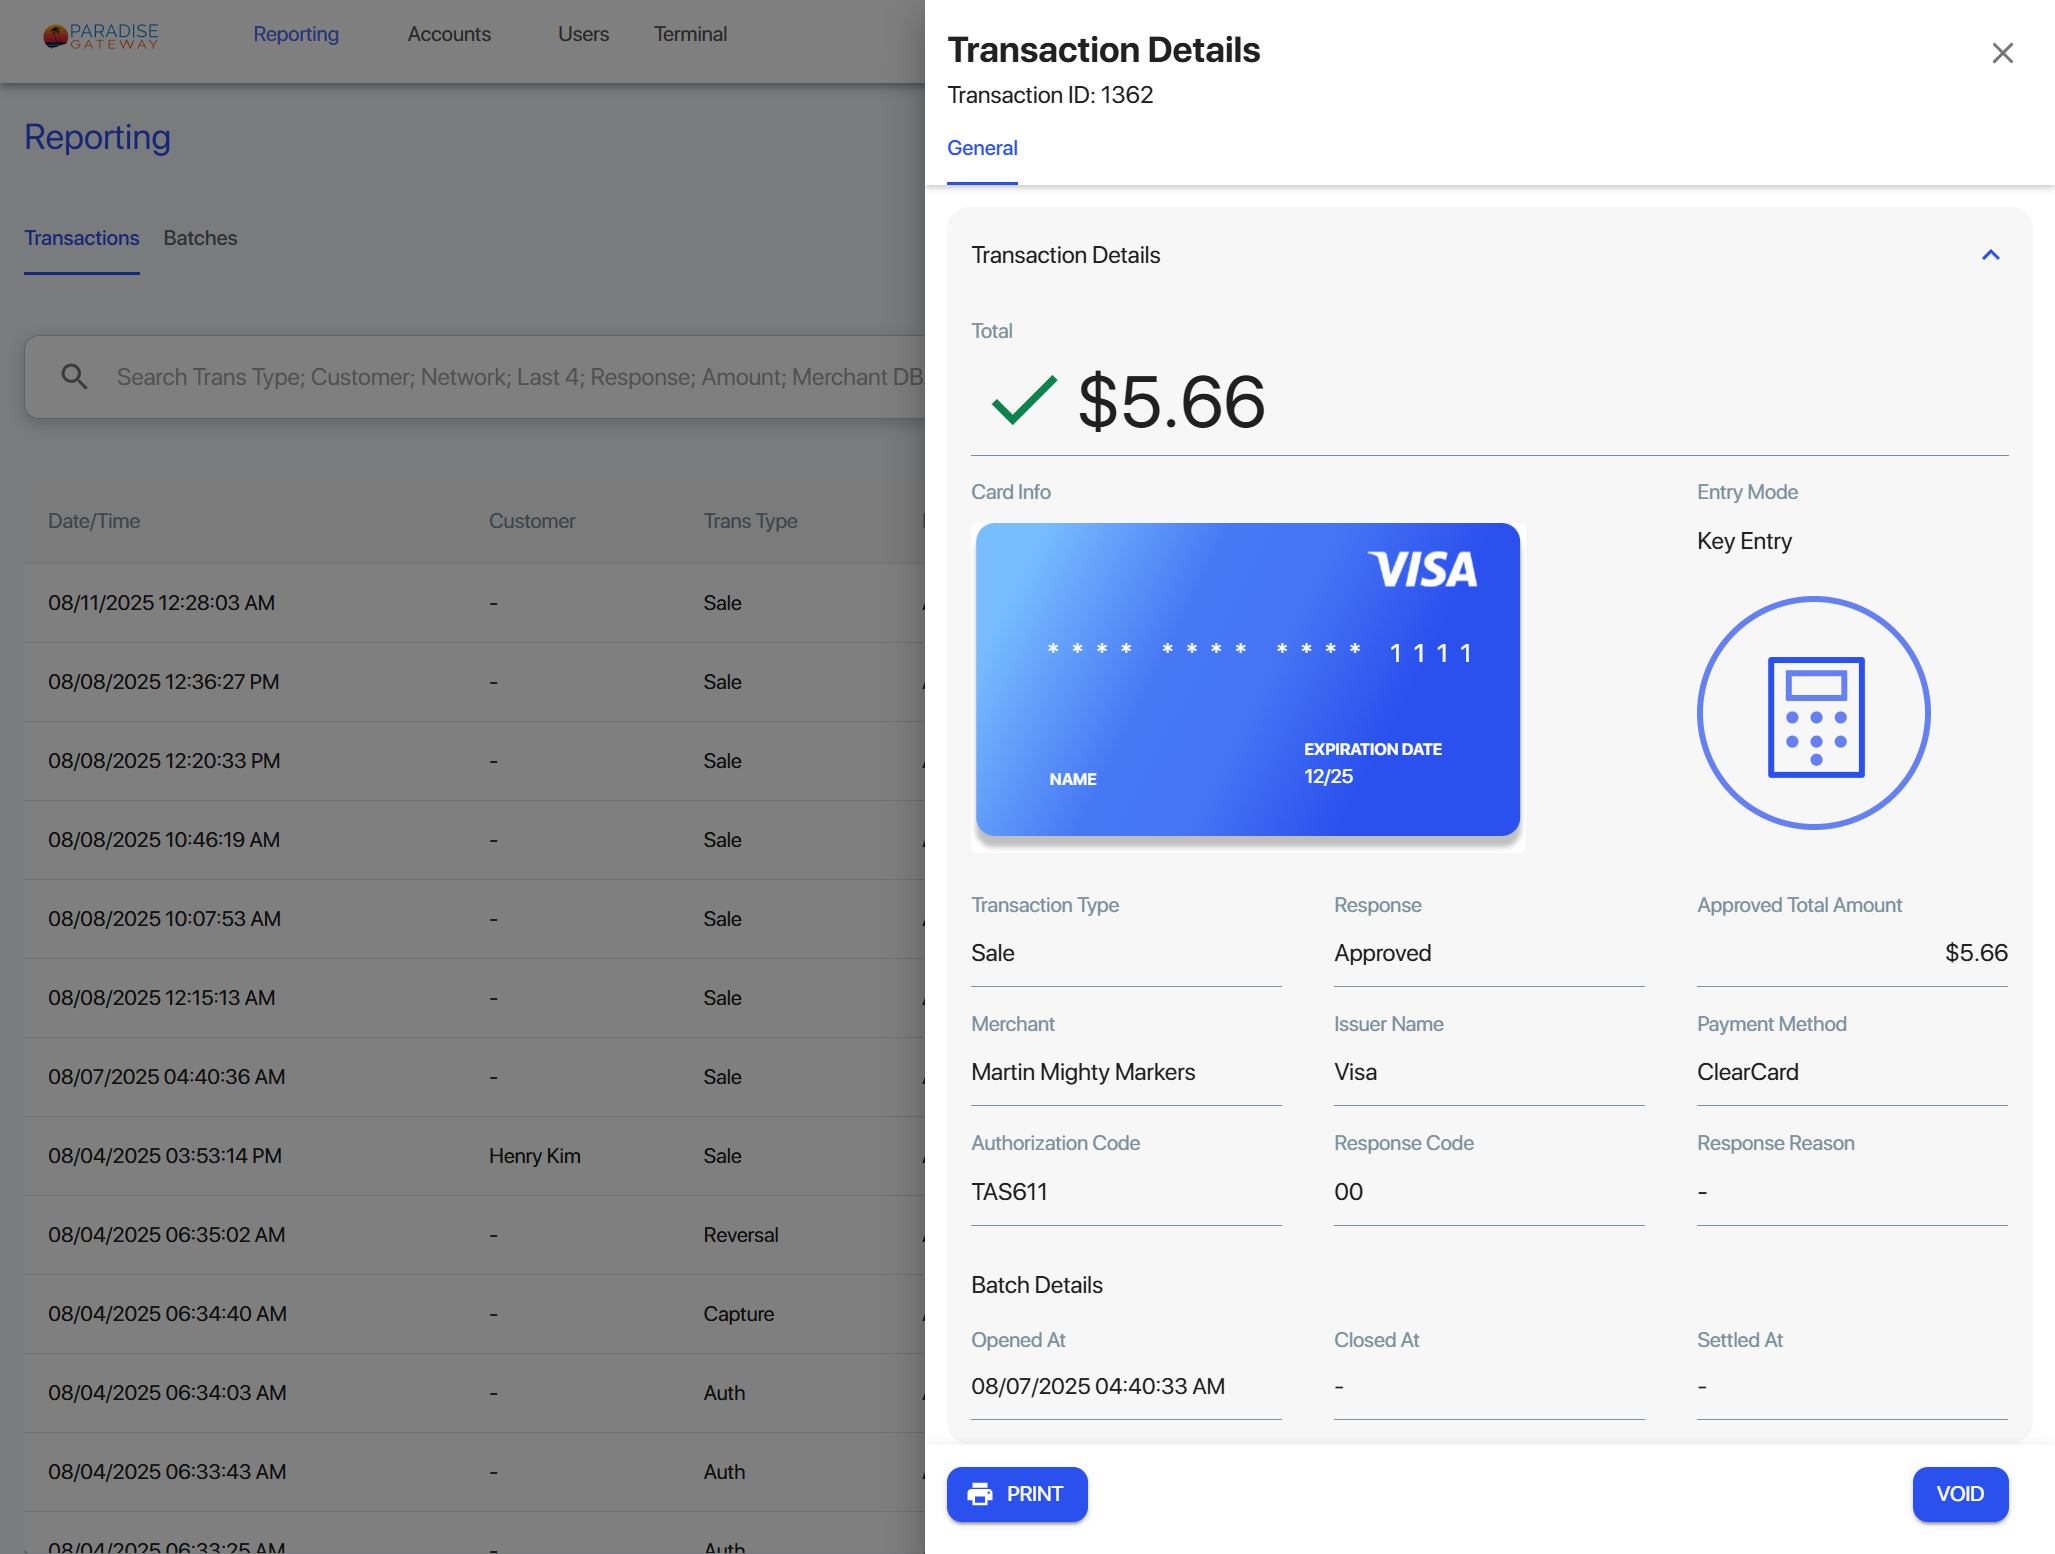
This overview screen opens with expanded sections. Scroll to see all information on the different sections.
The first section, Transaction Details, has information about the transaction request and processor response.
To review items on other sections, scroll or collapse the sections.
To see a report of closed and open batches, select Batches.
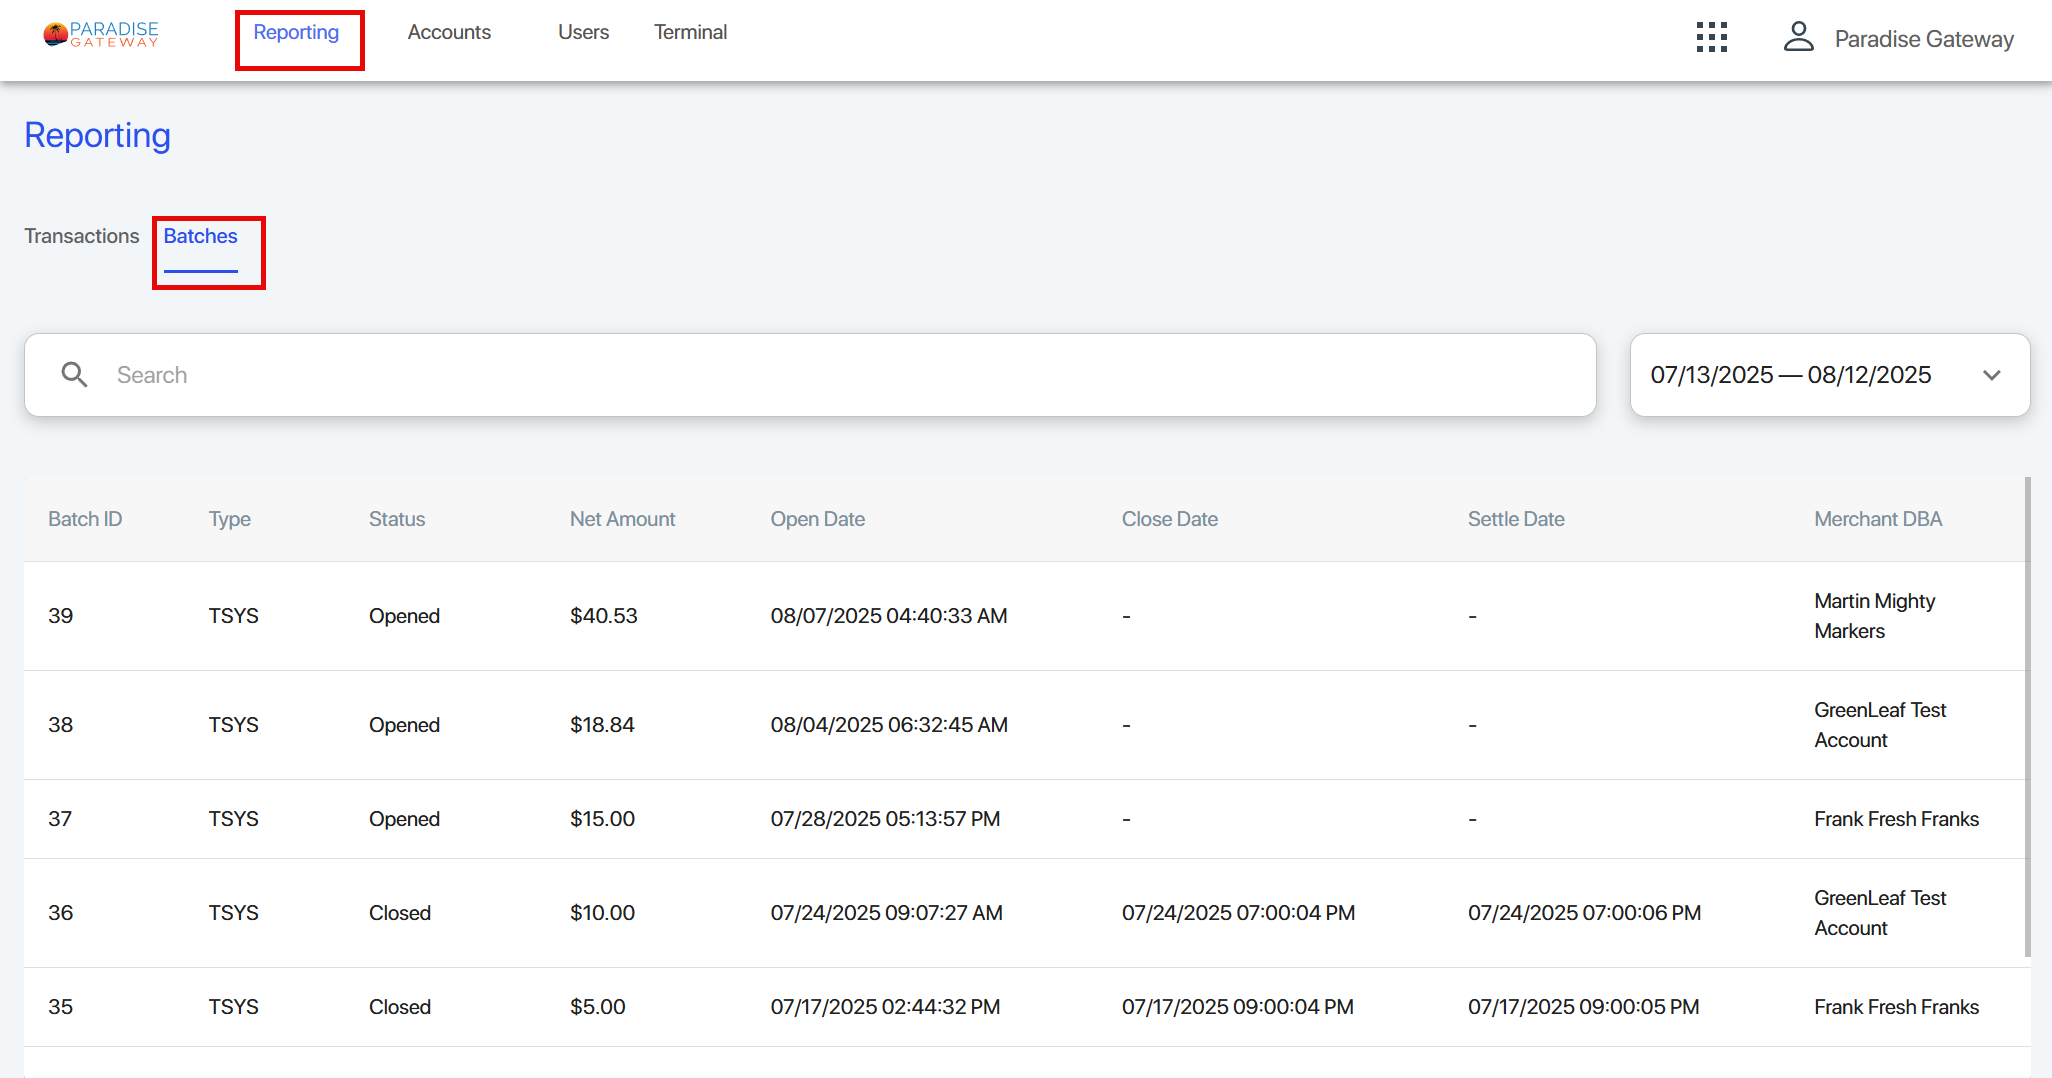
To see more details about a specific batch, select the row.
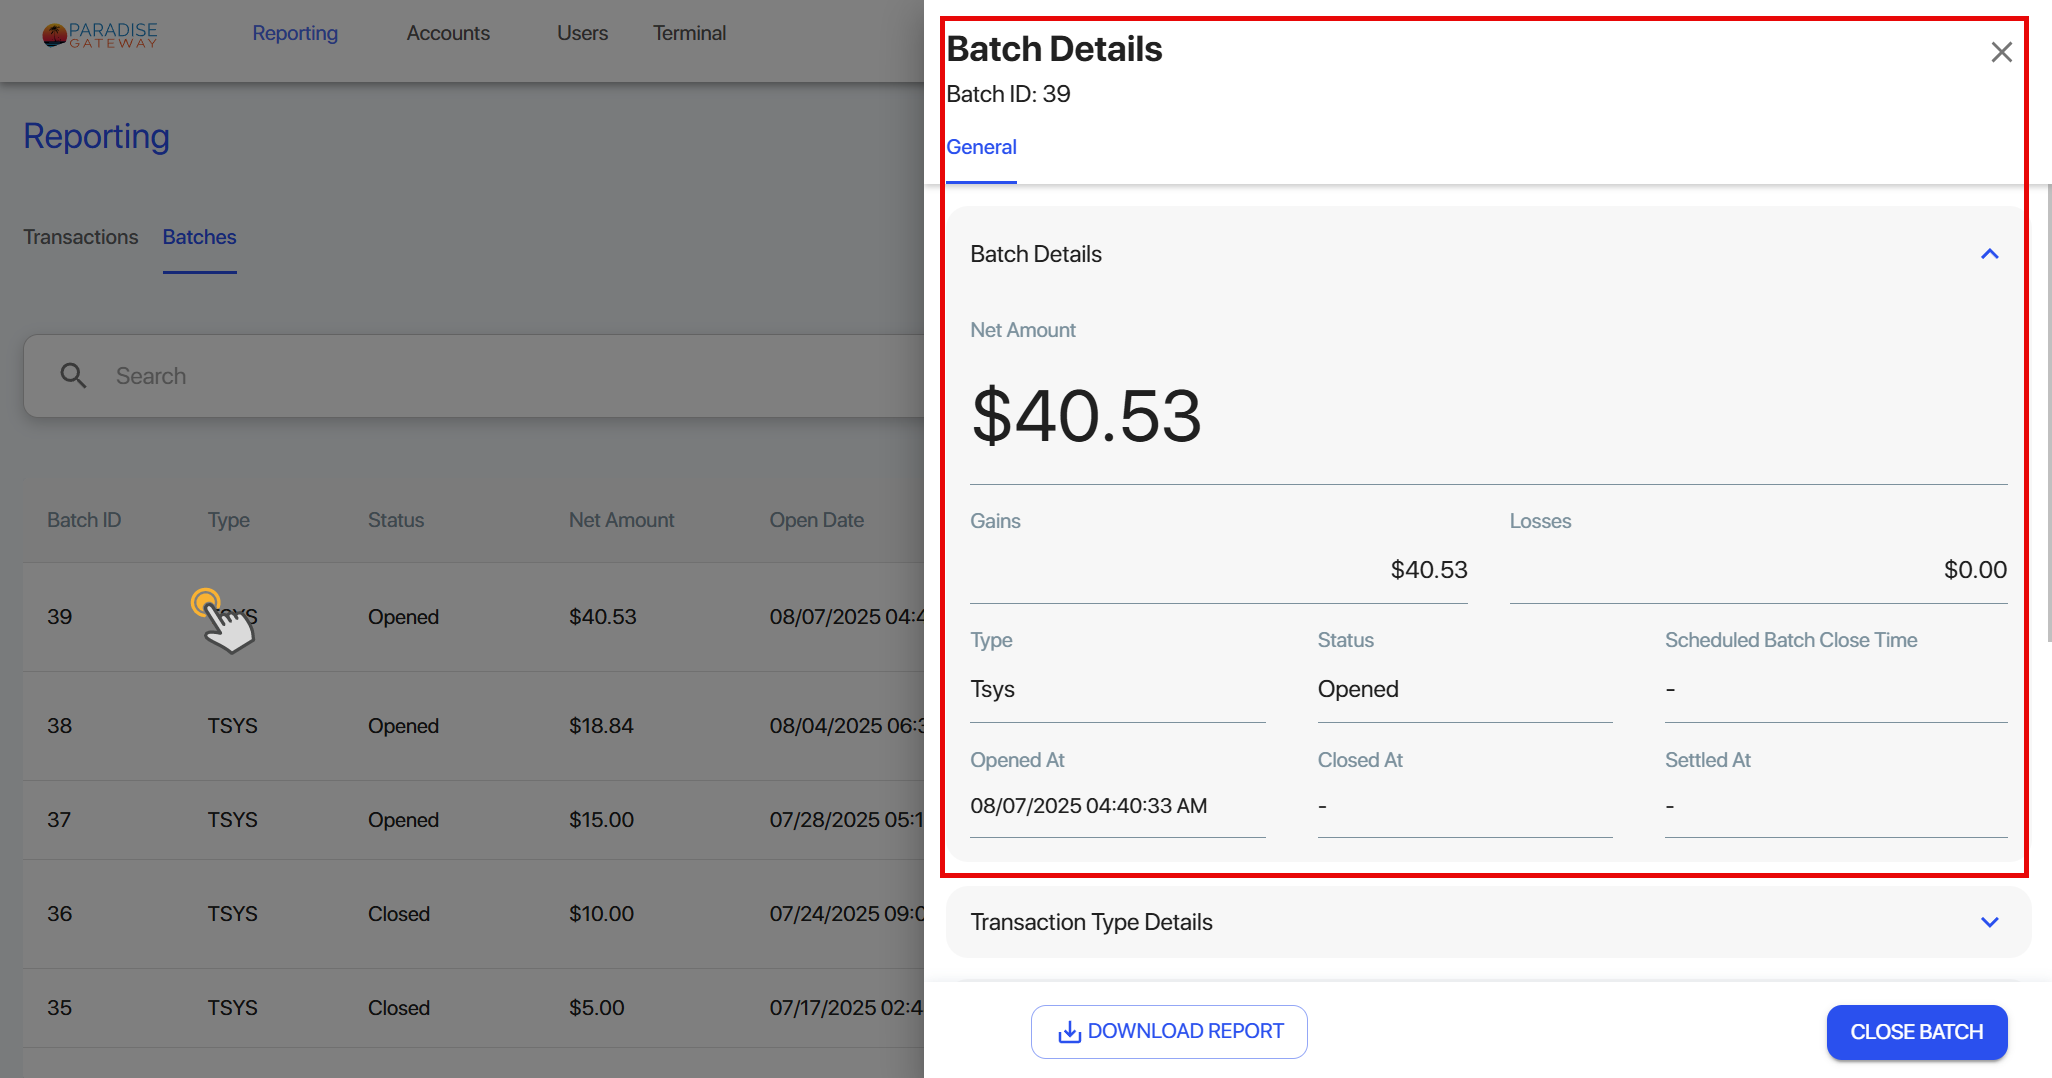
To close an open batch, elect Close Batch.
Attention Batch settlements are for TSYS processor only.
Fiserv Nashville and Omaha perform host batch and settle every transaction every 25 minutes.
On the Accounts section, you can review and modify client profiles and submit a client application to begin to onboard a client.
On the Applications screen, you can create and submit a client application to onboard a client to Reefpay.
To view the status of an pending application or an application still in draft form, select the row of the client application.
The Application Details window shows which parts of the application are still incomplete.
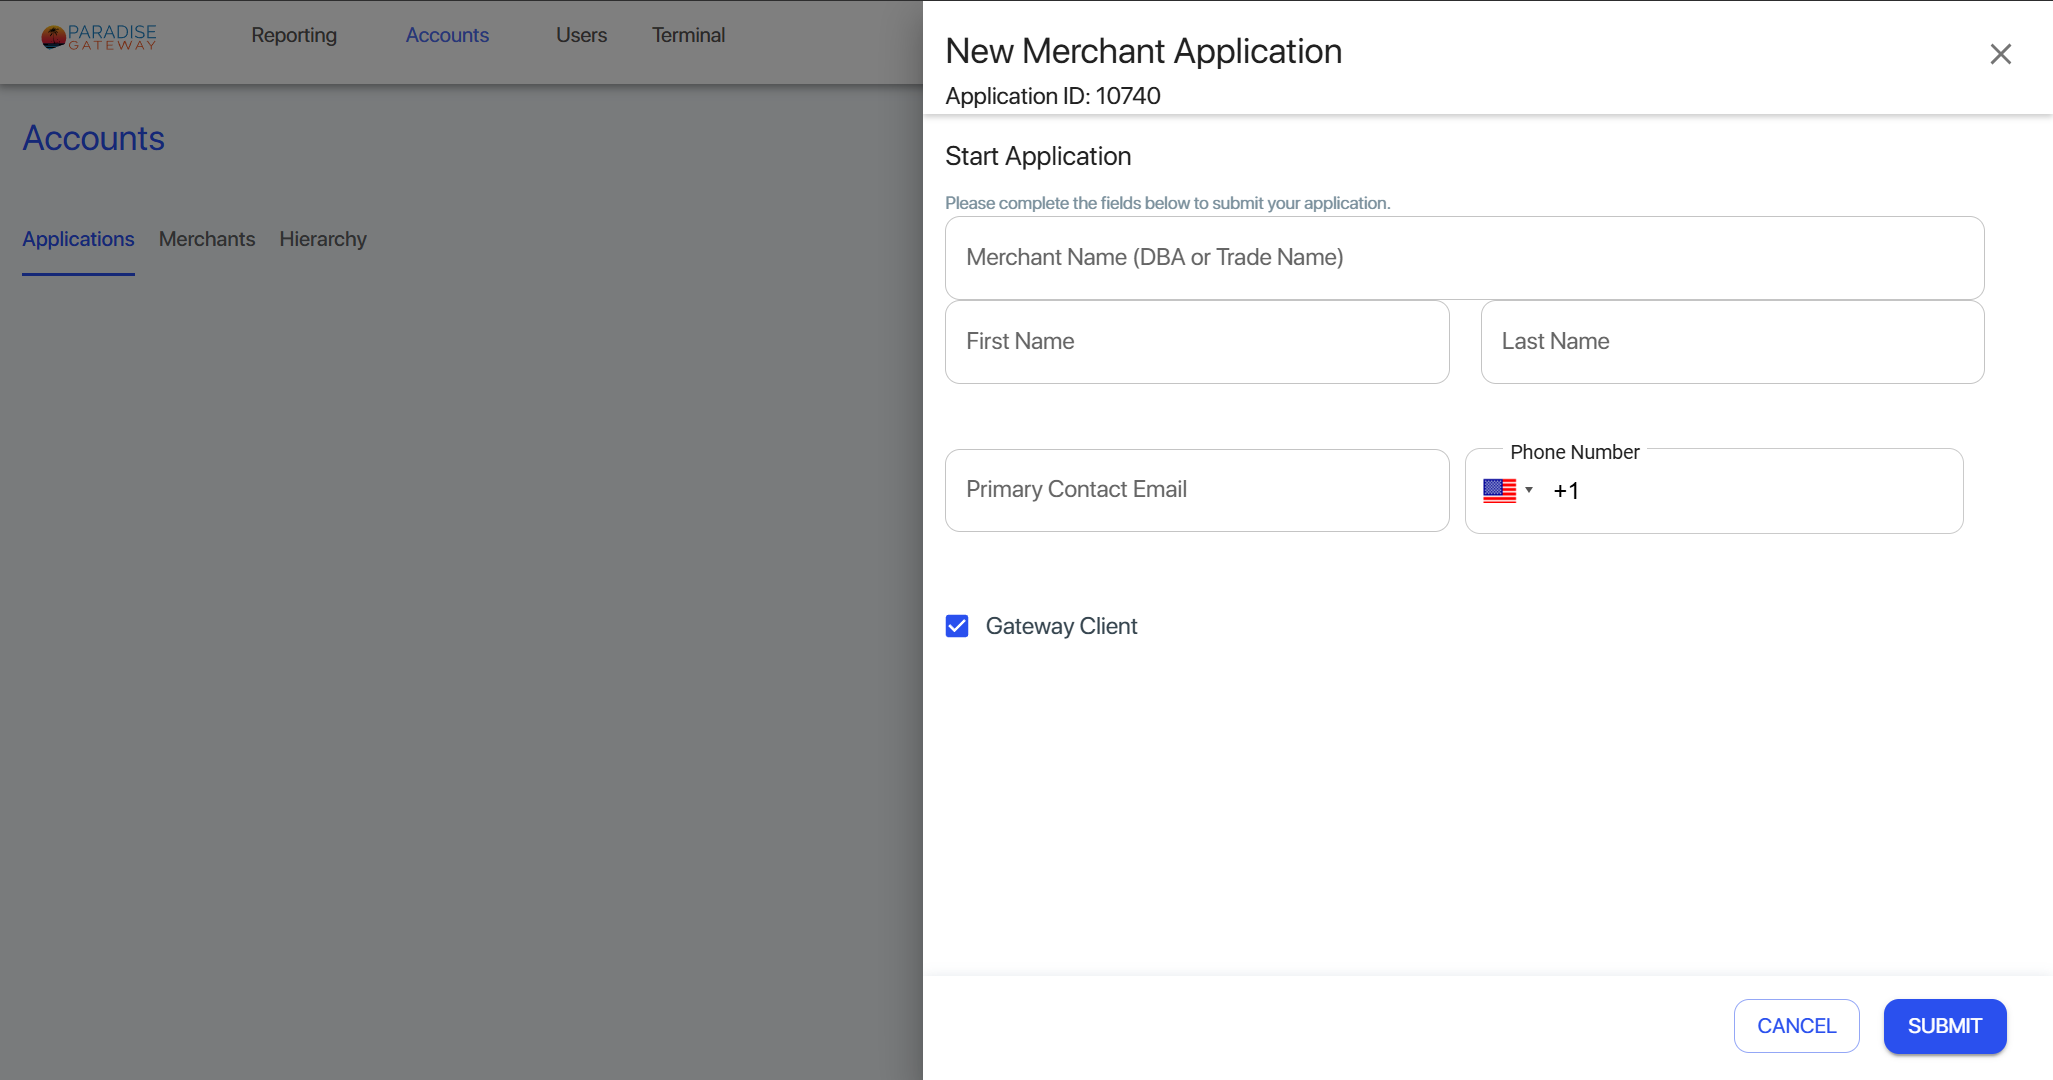
We'll now walk through the steps to create a new client application to onboard a client to Reefpay API.
To start a new application, first Select New Application.
Complete all text boxes and select Submit.
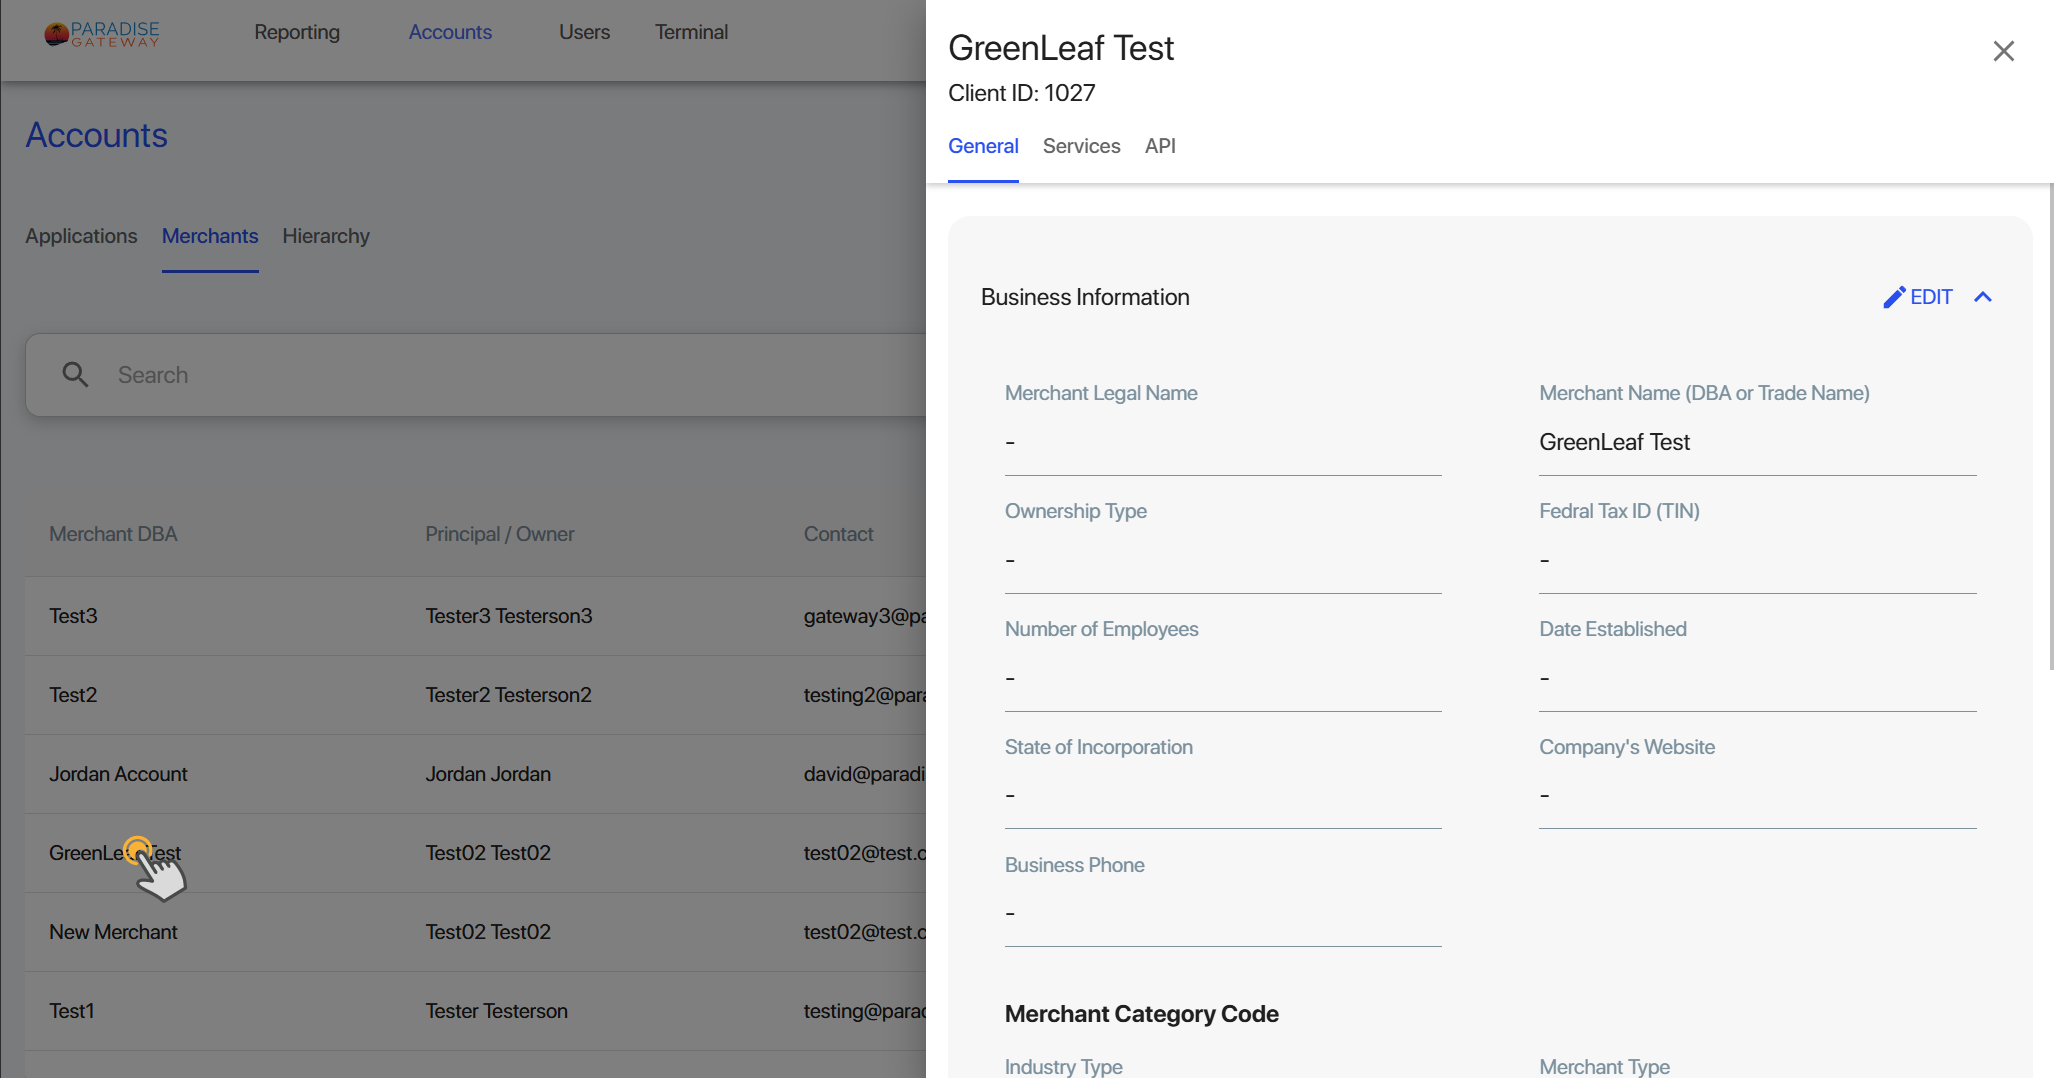
Select Merchants to view active merchants.
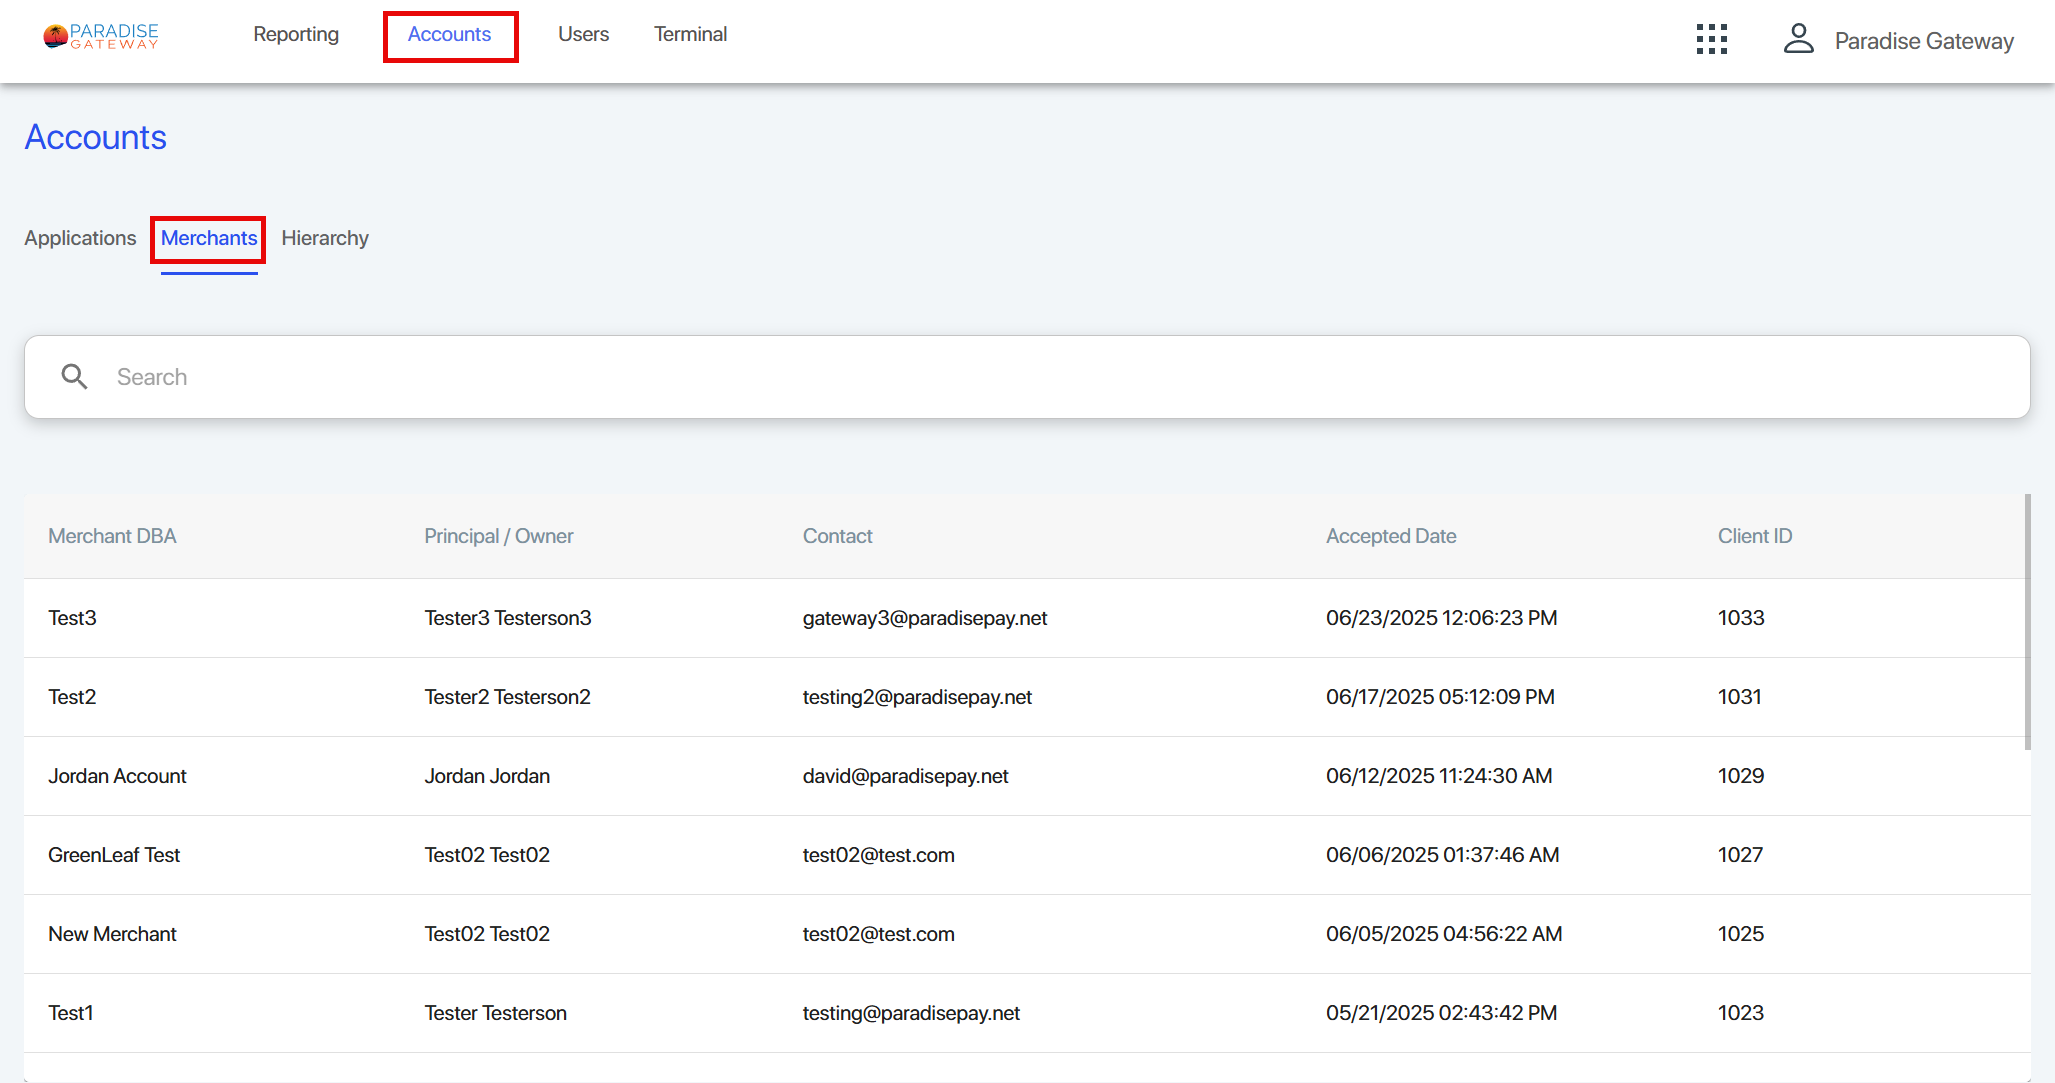
Select the row of the merchant to see the Merchant Details screen.
The Merchant Details screen has three sections: Hosts, Contacts, API.
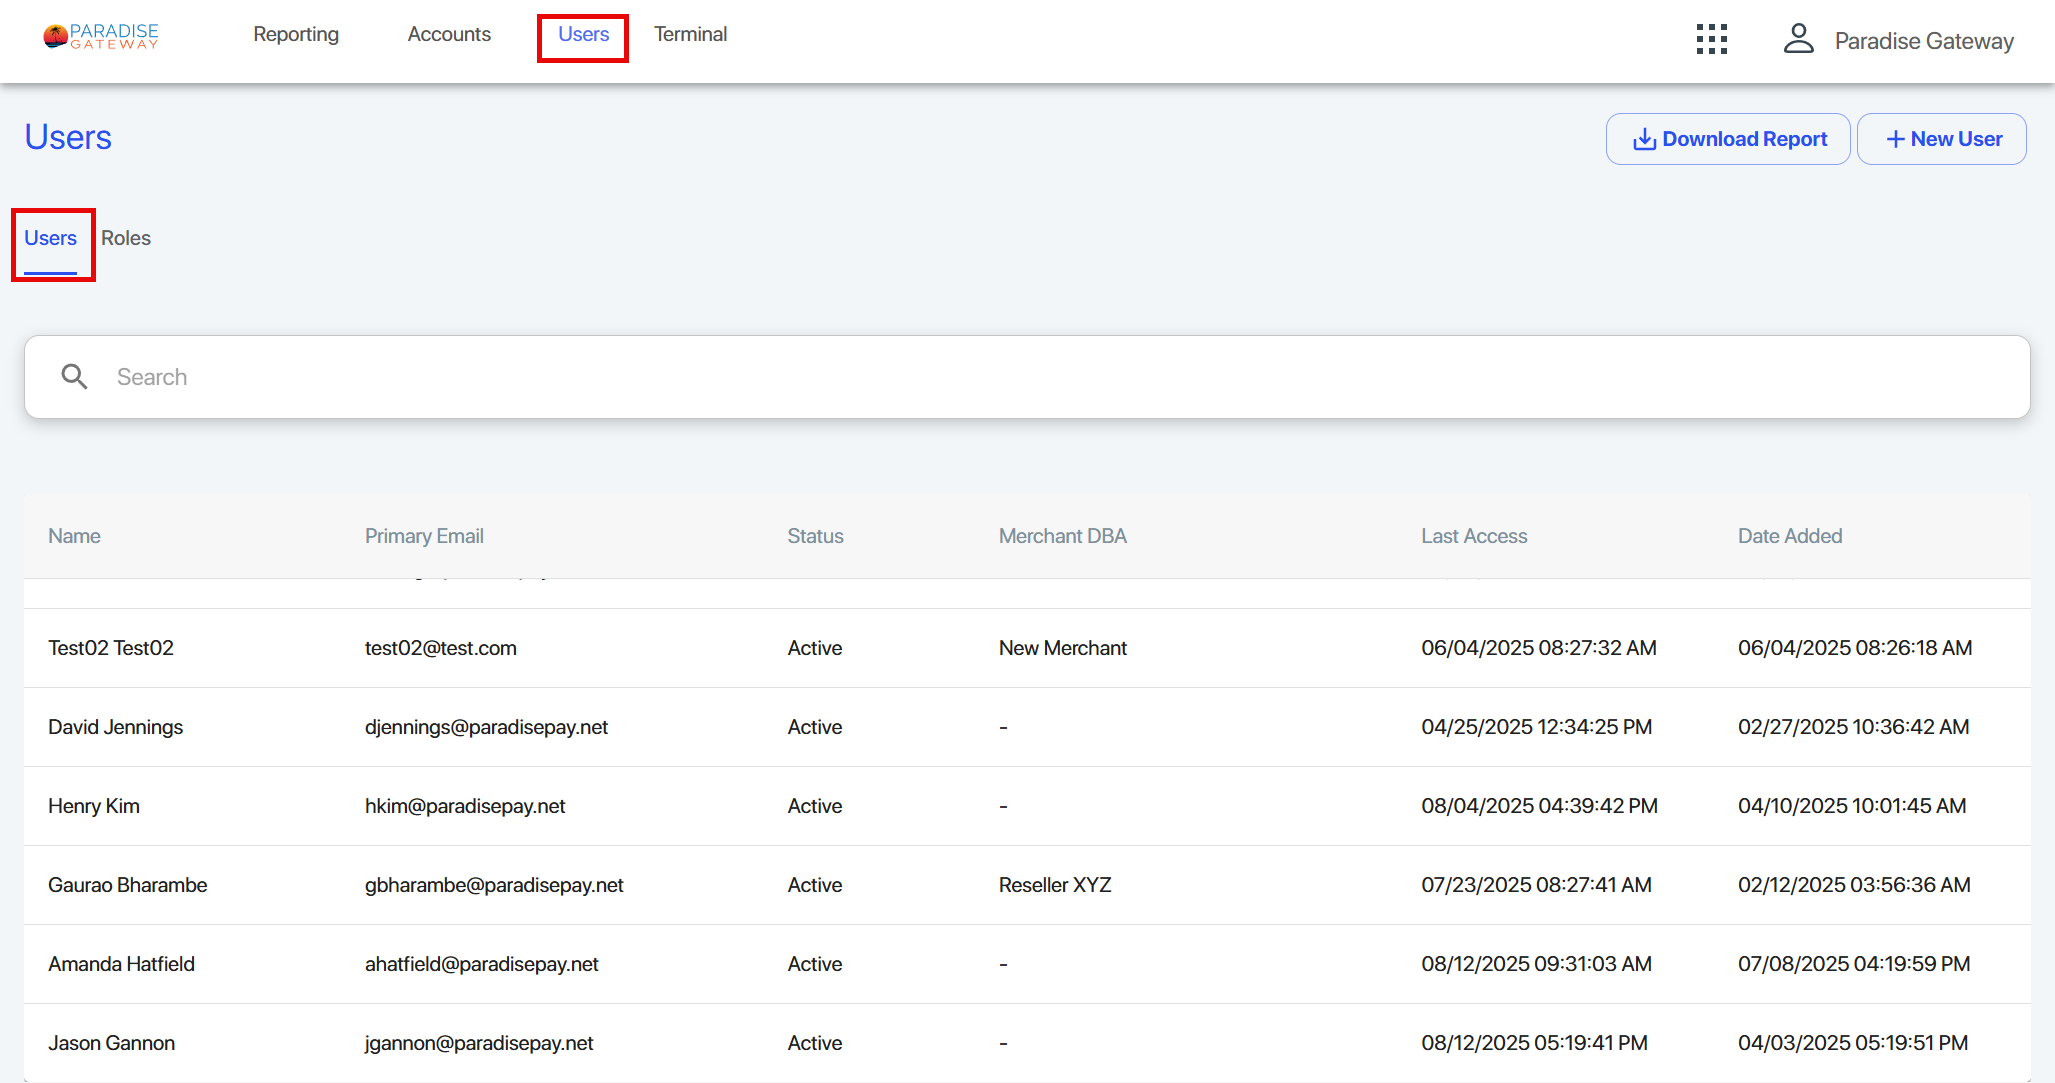
The Users screen defaults to the Users tab. Here you can view and search for users.
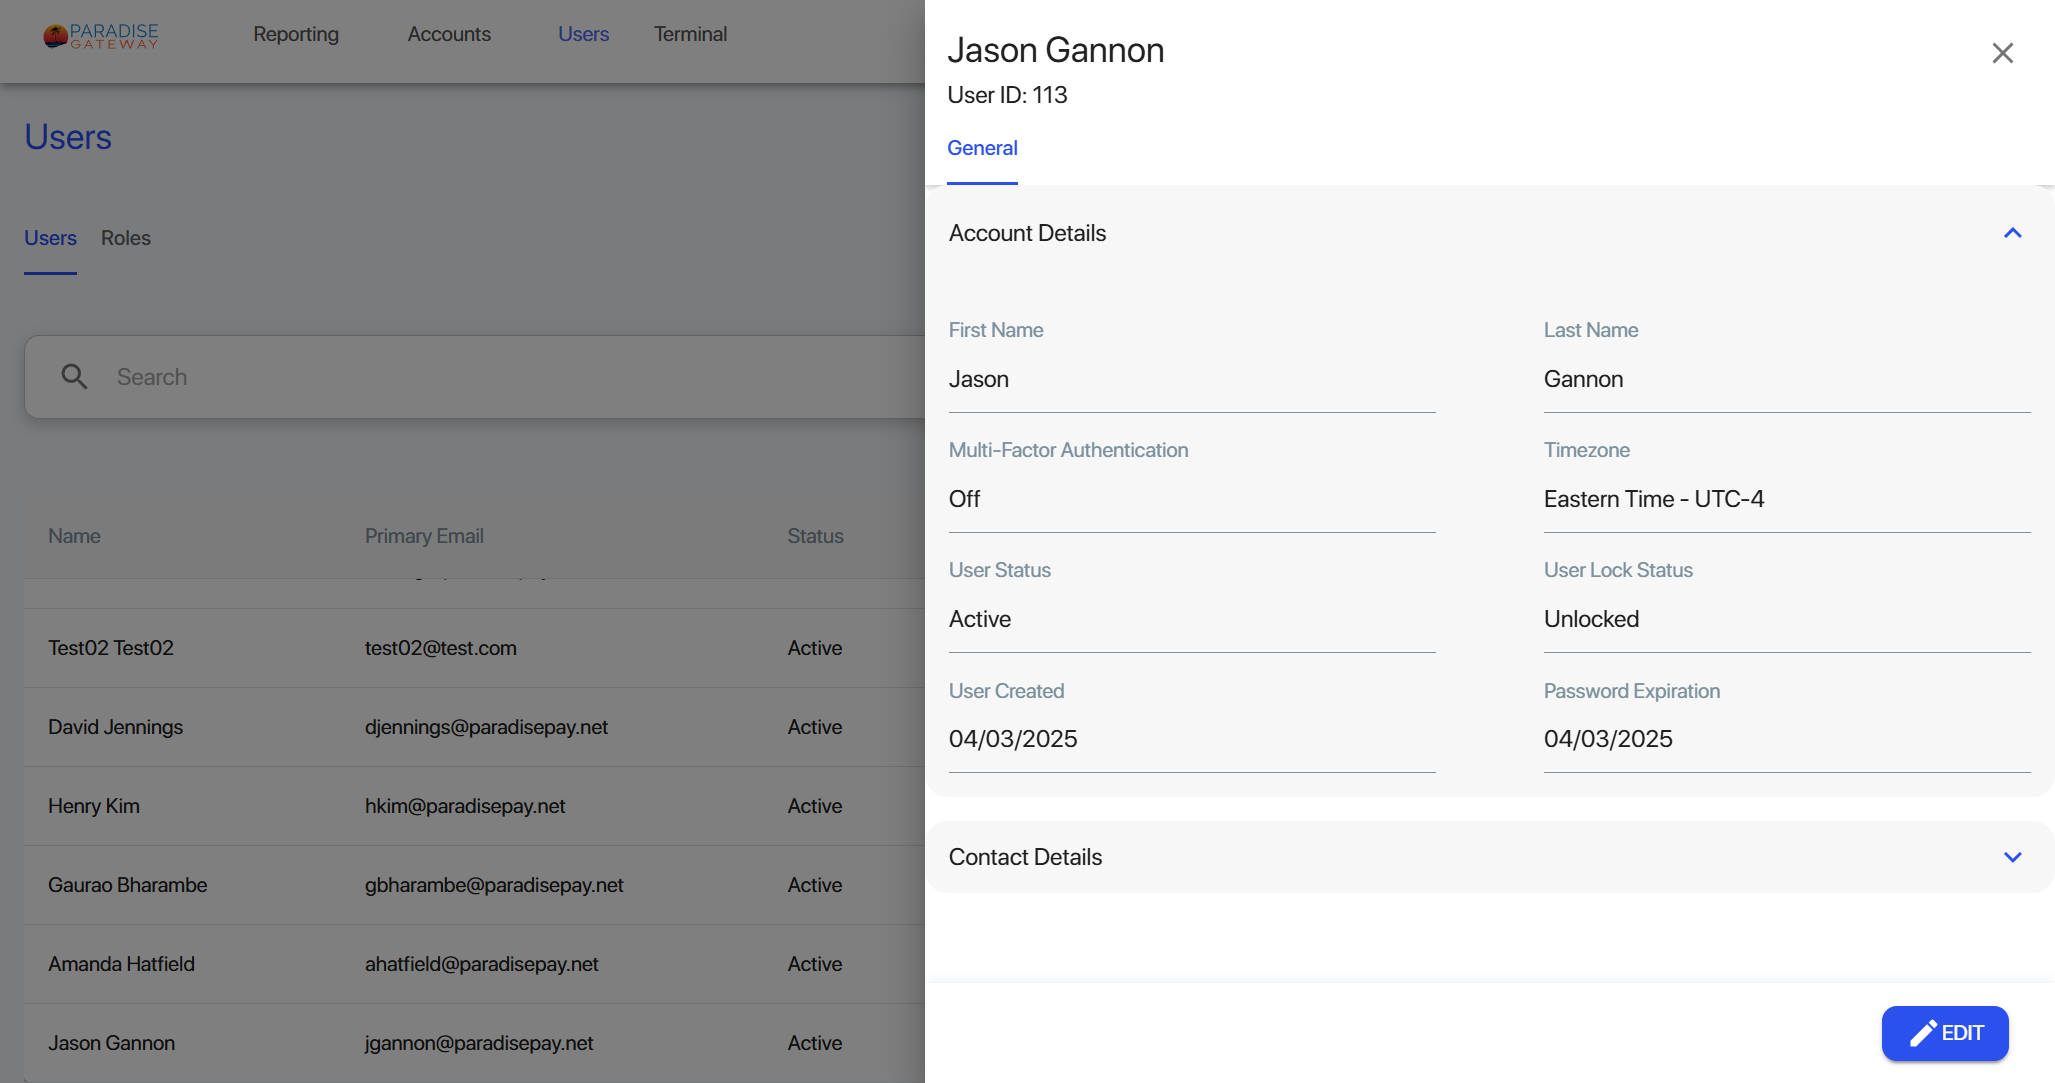
Select a specific user to see the user details screen.
Select Edit to open the Edit User screen.
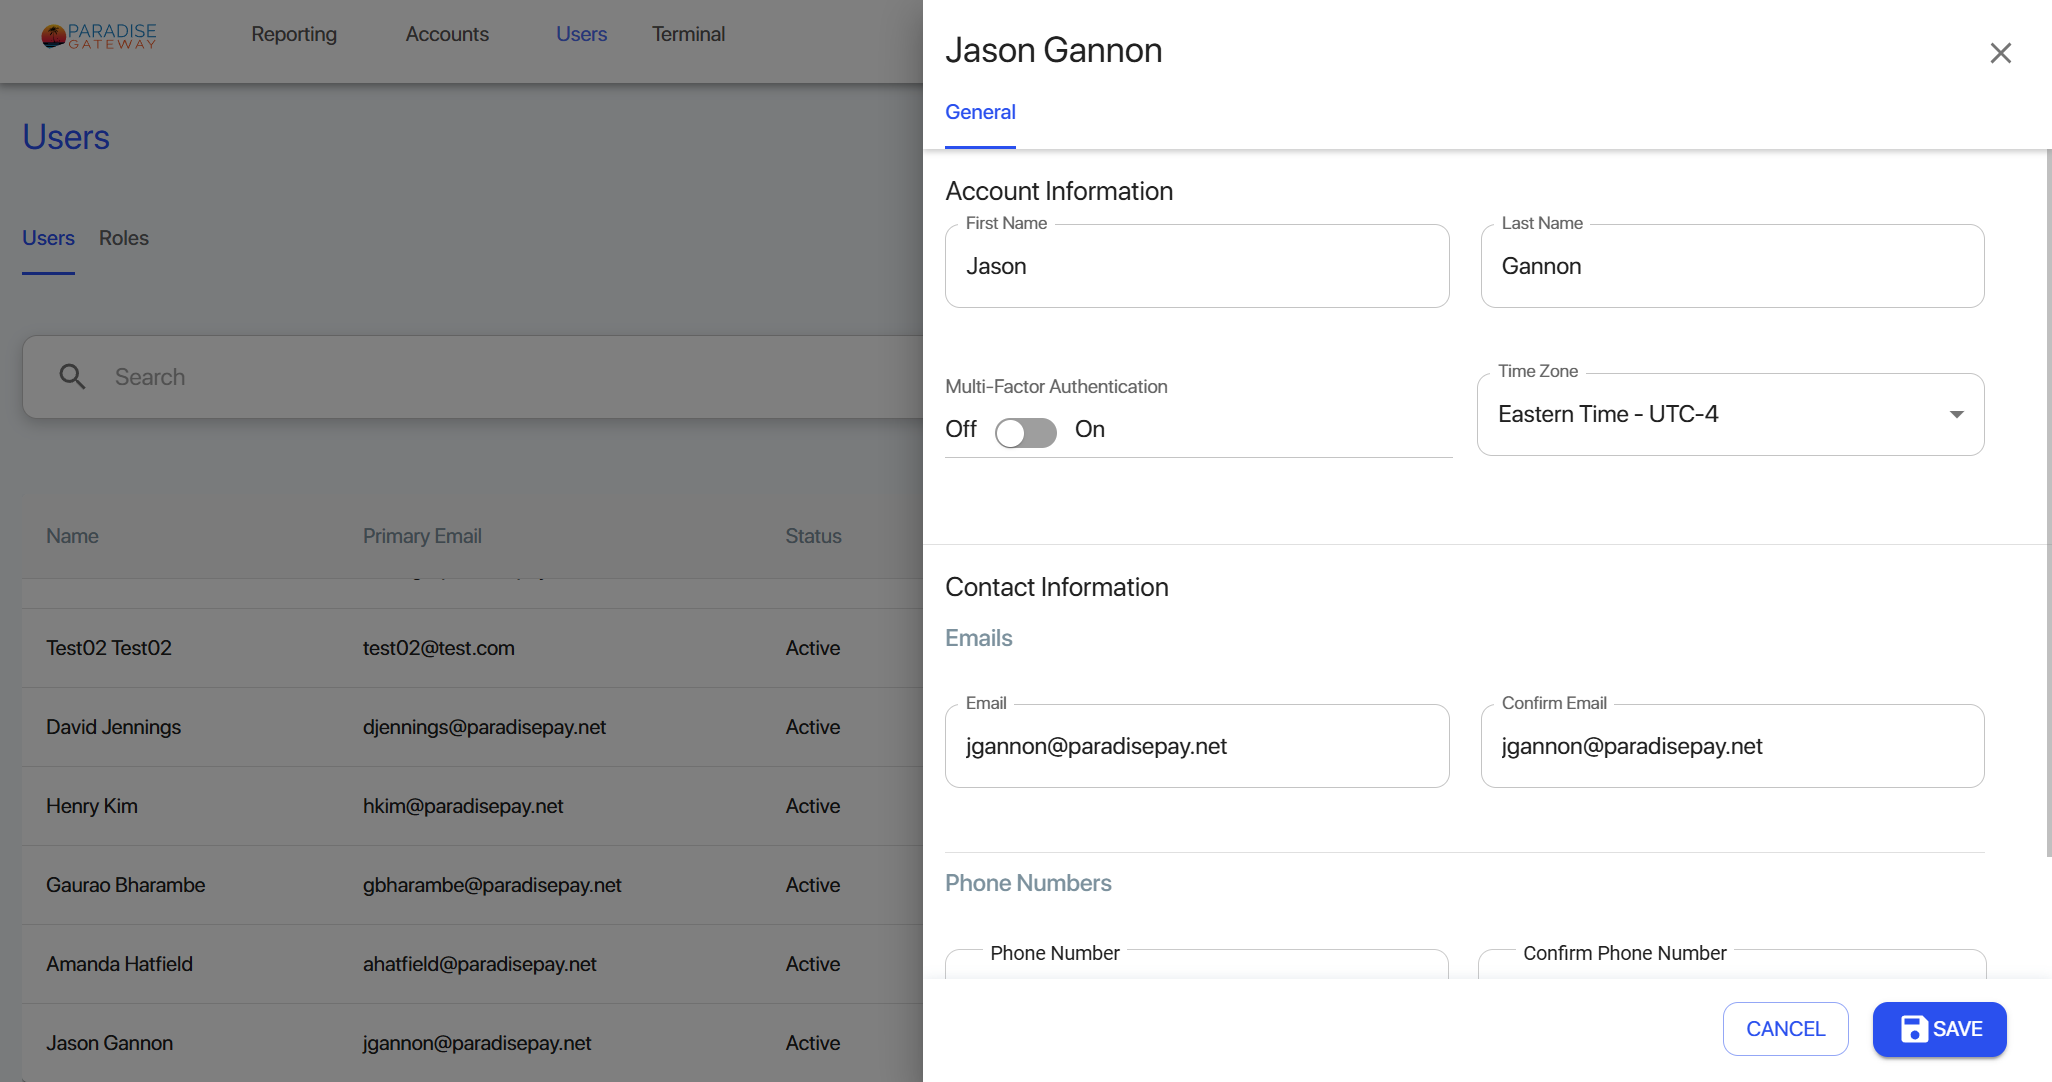
Make any needed updates to the user profile and select Save.
On the Terminal screen, you can send payment transactions.
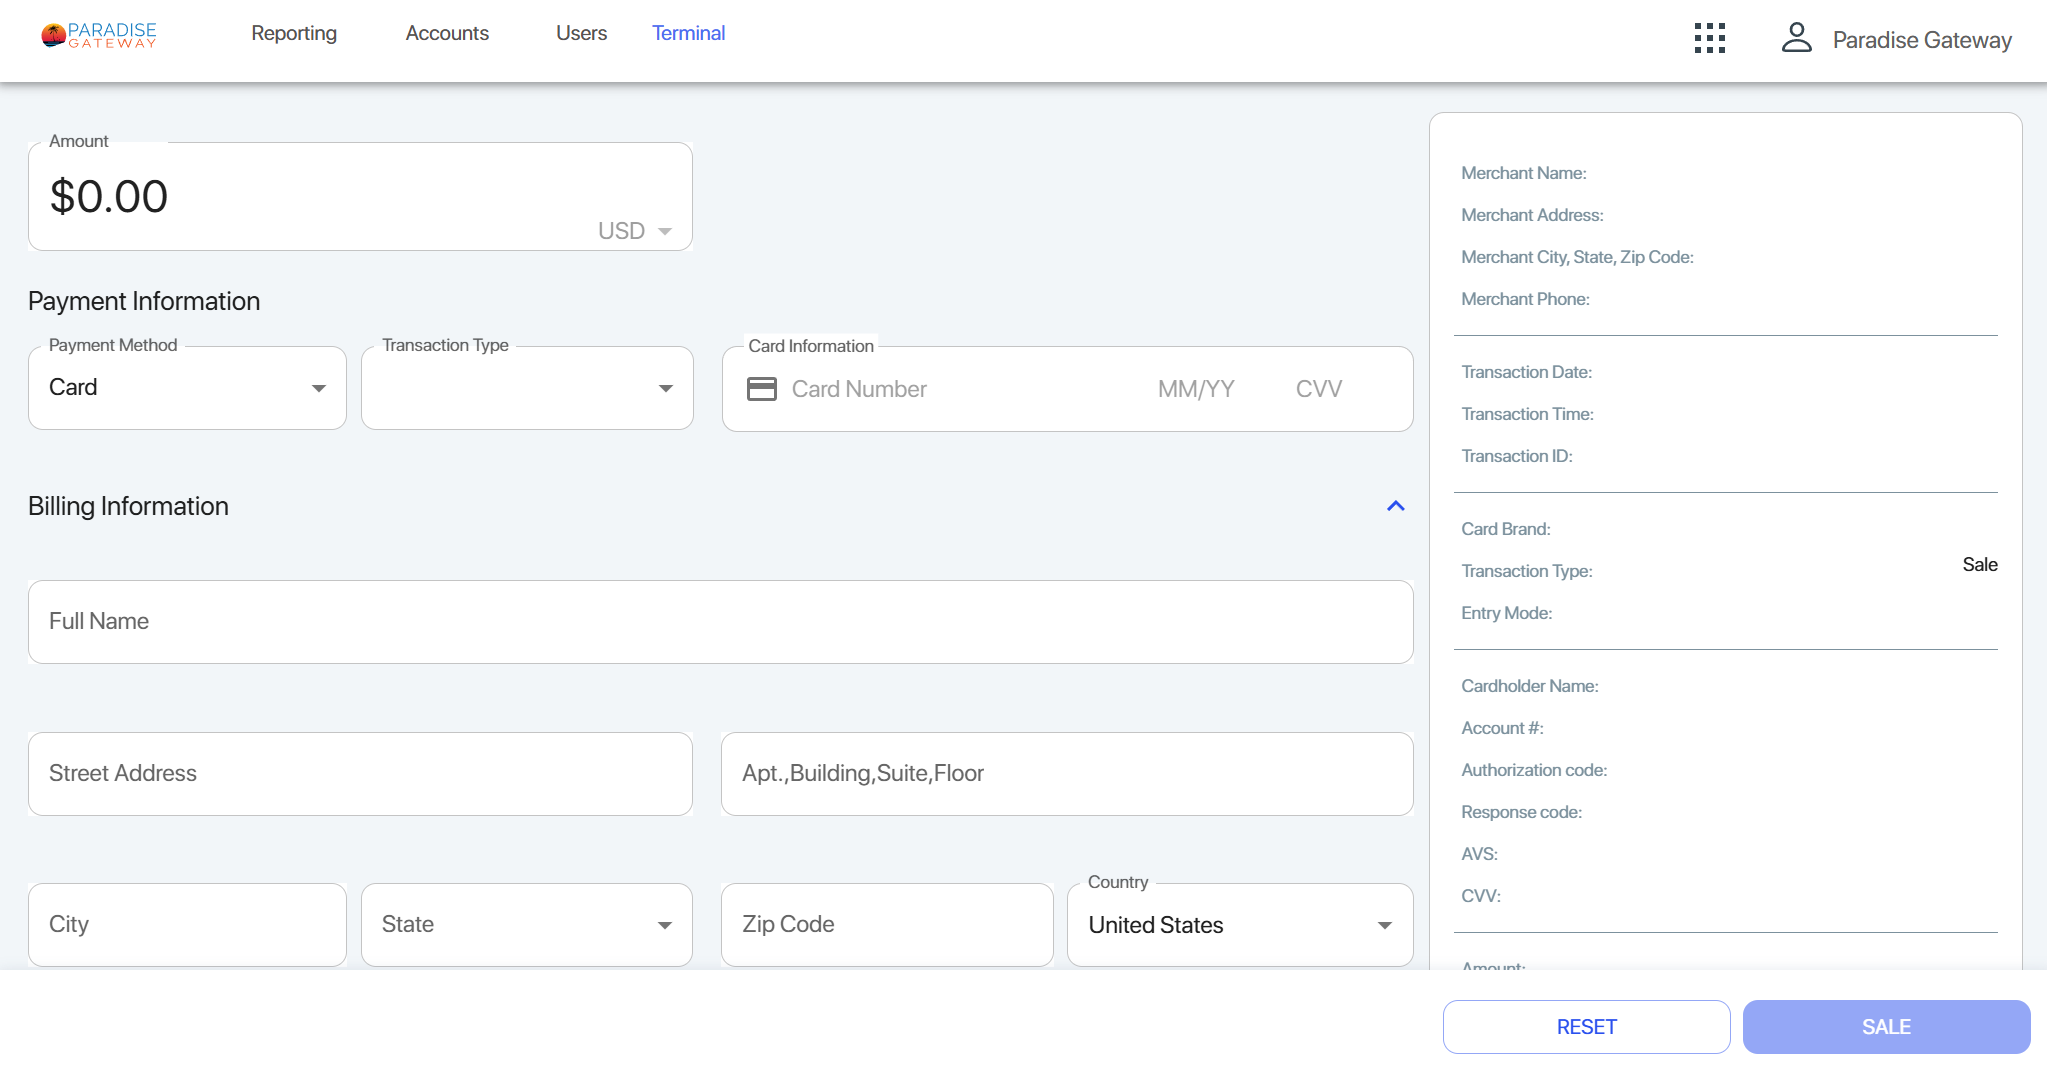
The credit or debit processor currently active on your account determines which options appear on the Transaction Type dropdown menu.
The six transaction types are:
- Sale: Request a credit card sale.
- Authorize: Request an authorization, which confirms a credit cardholder’s ability to pay.
- Capture: Request capture of an authorization after you've provided the service/good to the customer. To receive funds, add a reference to the approved authorization on a capture request.
- Refund: Request to return money to a credit cardholder after the associated batch payment is closed.
- Void: Void a transaction before settlement.
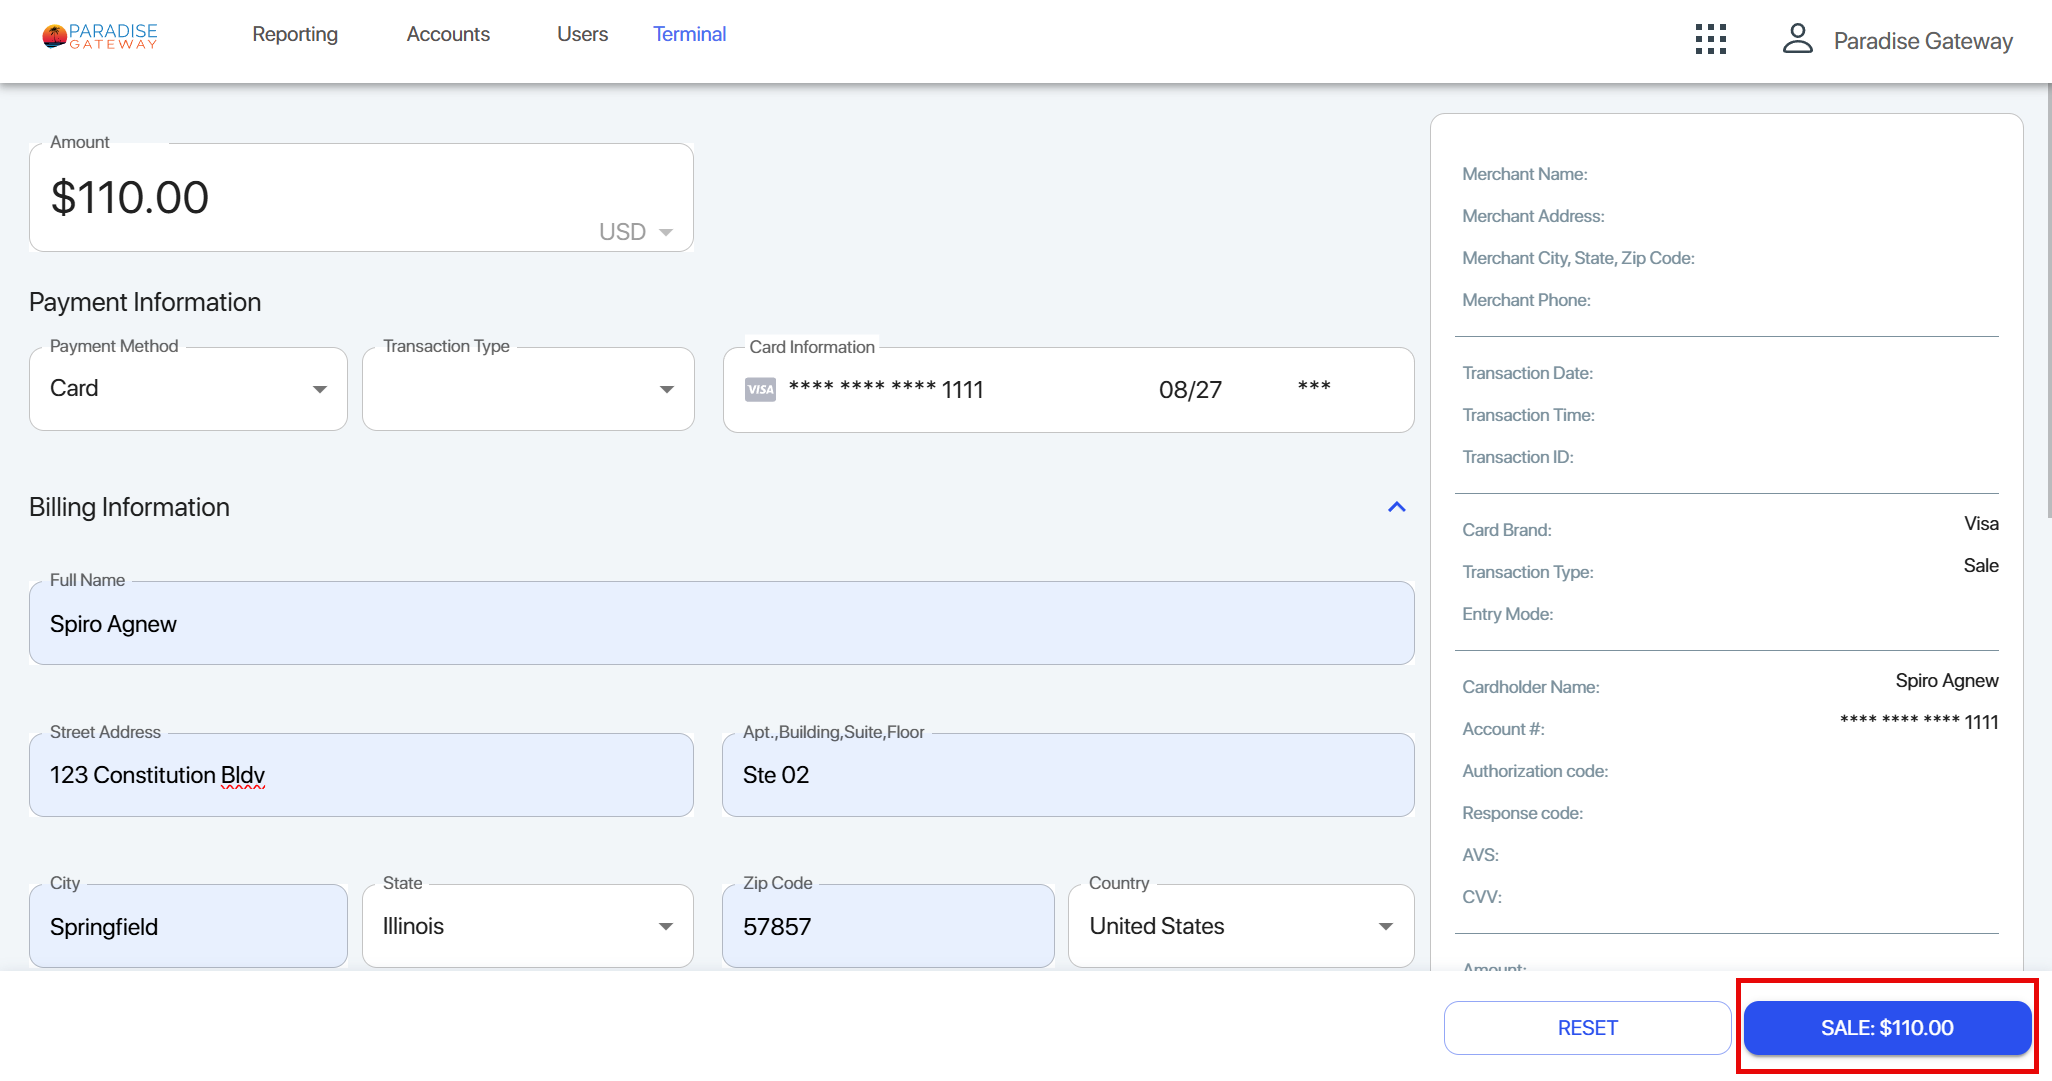
To request a transaction:
- Complete all required text boxes.
- Verify information is correct.
- After you’ve entered all information, the Blue Button at the bottom right of screen becomes active.
- Select the Blue Button to submit the transaction request.
| Editor | Date | Description | Version |
|---|---|---|---|
| Jason Gannon | Aug 12, 2023 | Initial Draft | 0.1 |